This is a webpage version of the Twitter thread I did about the pool. Enjoy!
So, last year we installed an above-ground 18' pool.
I had my brother-in-law flatten out an area 25' in diameter, though, because I figured if this experiment went well we might want to upgrade to a 24' sometime later when the pool needed to be replaced.


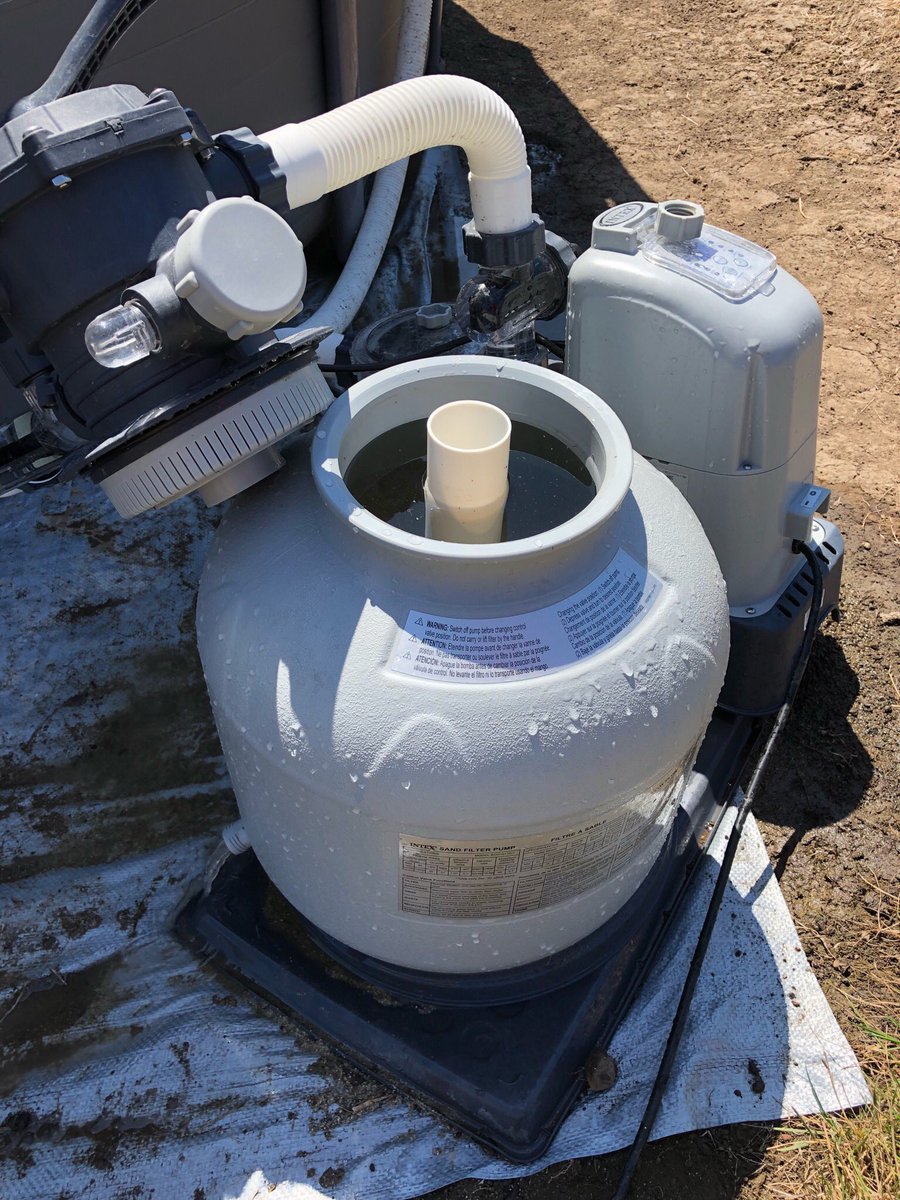
It was a saltwater pool and also had a sand filter.
I struggled to keep the water from getting murky, because I was a pool newbie who doesn't read directions very well.
(In the second photo, you can see the water is too green.)

I finally figured that out partway through summer and we enjoyed the pool the rest of the time.
But then another rookie mistake: I entirely emptied my pool before winter, thinking that was the best thing to do.
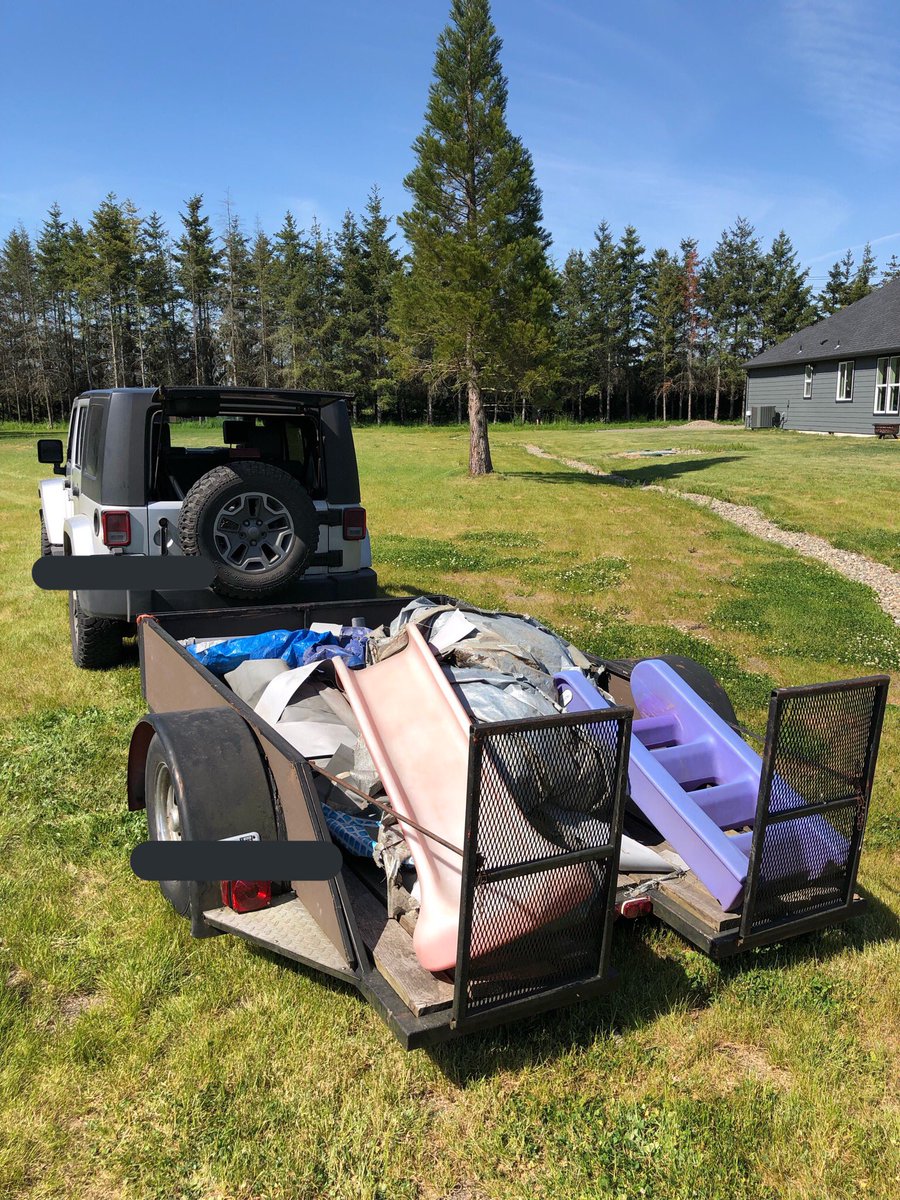
There was a windstorm in December and the pool collapsed.

So, off to the dump it went. Sad trombone.
So we debated building an in-ground pool, but two major objections:
1.Cost — figure minimum $80-100k, probably more.
2.Ground water — we are perilously close to the water table, and it didn't seem like a good idea to tempt fate by digging a huge hole.
But then Chyra started researching above ground pool decks. And it started making sense to go that route.
Her brother builds decks but is always super busy. But! He was waiting for a big project to start. We got lucky.
Doing a full deck around the whole thing would be cool, but also pretty expensive ($30-40k by itself). Instead, we decided to build it halfway around the pool. This saved nearly half of that.
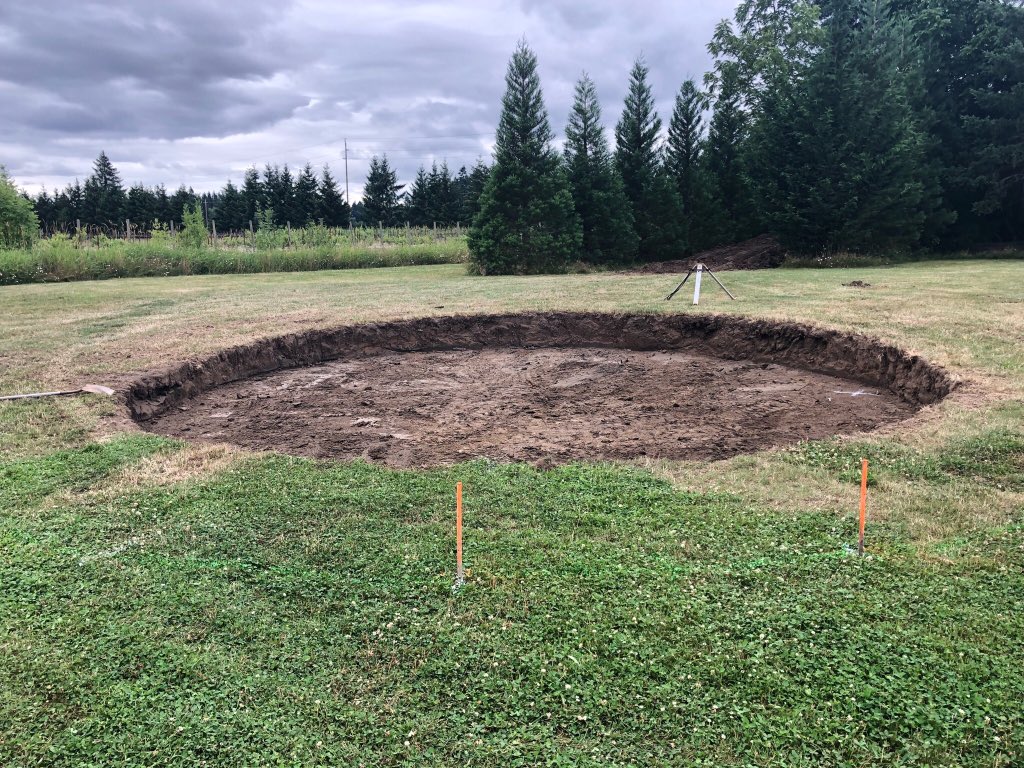
So my other bro-in-law came back (it pays to have brothers-in-law in construction) and dug it out.
We went down 18" into the soil to sink the pool down and keep the deck height from being too high off the ground, which would look strange.

Here's the end result.
So the new pool is a Saltwater 8000 from @ThePoolFactory. The truck came in, I backed my trailer up to it, and the driver dropped it right on the trailer.
It's heavy.

So I towed it out into the field, had my "sand guy" deliver 10 cubic yards of sand, and my deck-building bro-in-law started working on the deck foundation.
(You can see a laser transit in the foreground. Super handy for measuring levelness.)


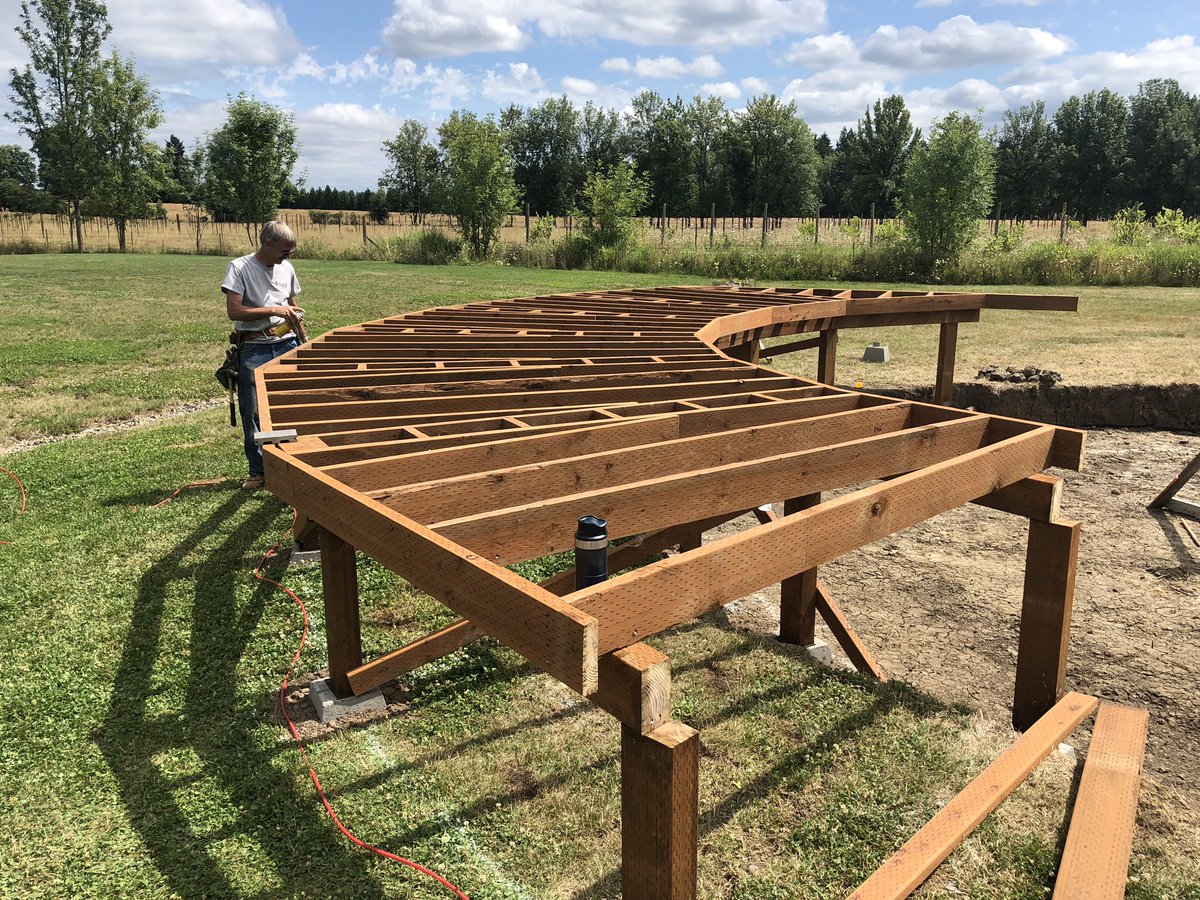
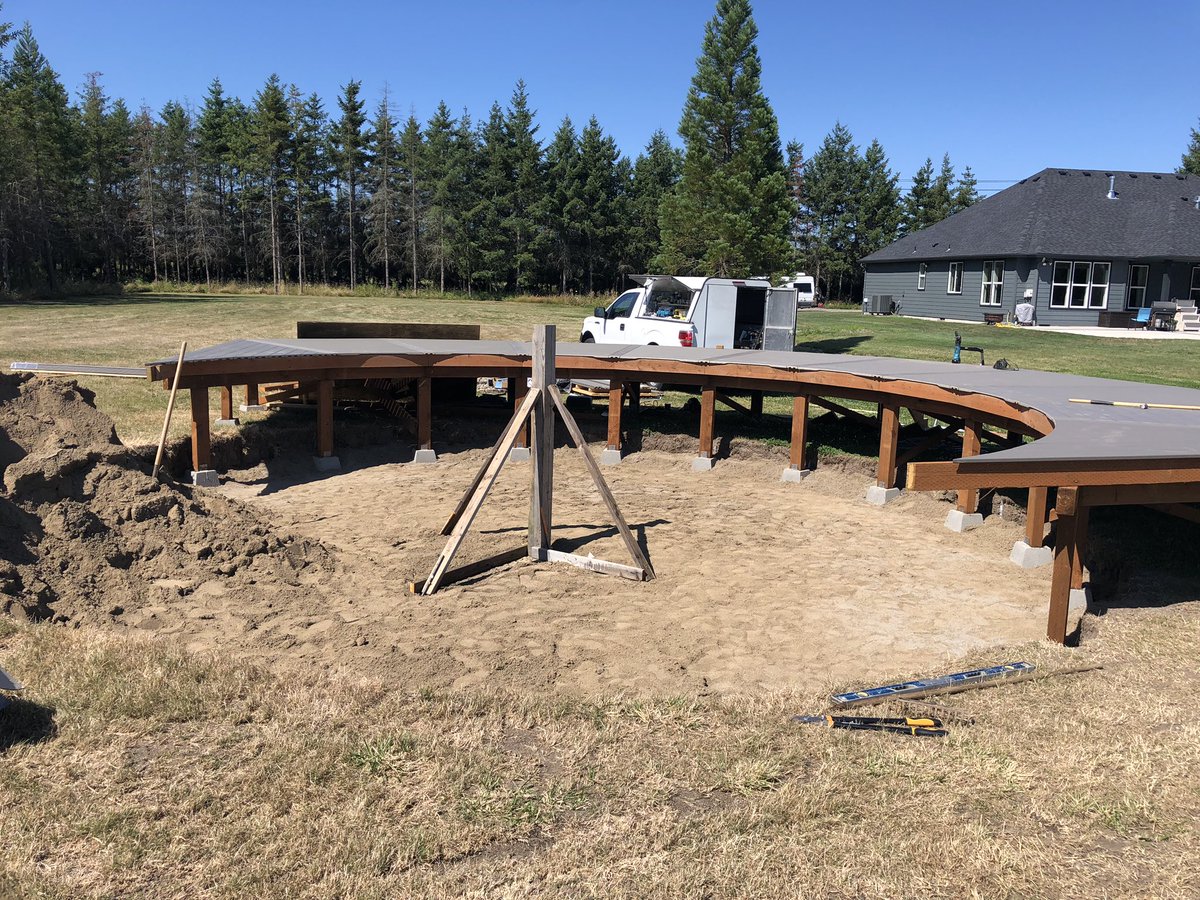
He started with the posts and joists, which are made from pressure treated lumber.
The outside posts are 6'-0" on center (183 cm in non-freedom-units). The inside is carefully measured off the centerpoint to follow outside the outer wall of the pool.
He built it very rugged. This thing could support an elephant.
(Some of the supports in these photos are temporary and will be cut and attached more permanently.)



Checking how flat he made it.
It's flat.

One reason the joists are so close together is we went with this @timbertechABP Trex-like composite decking. It can't span quite as far, but it is super durable.

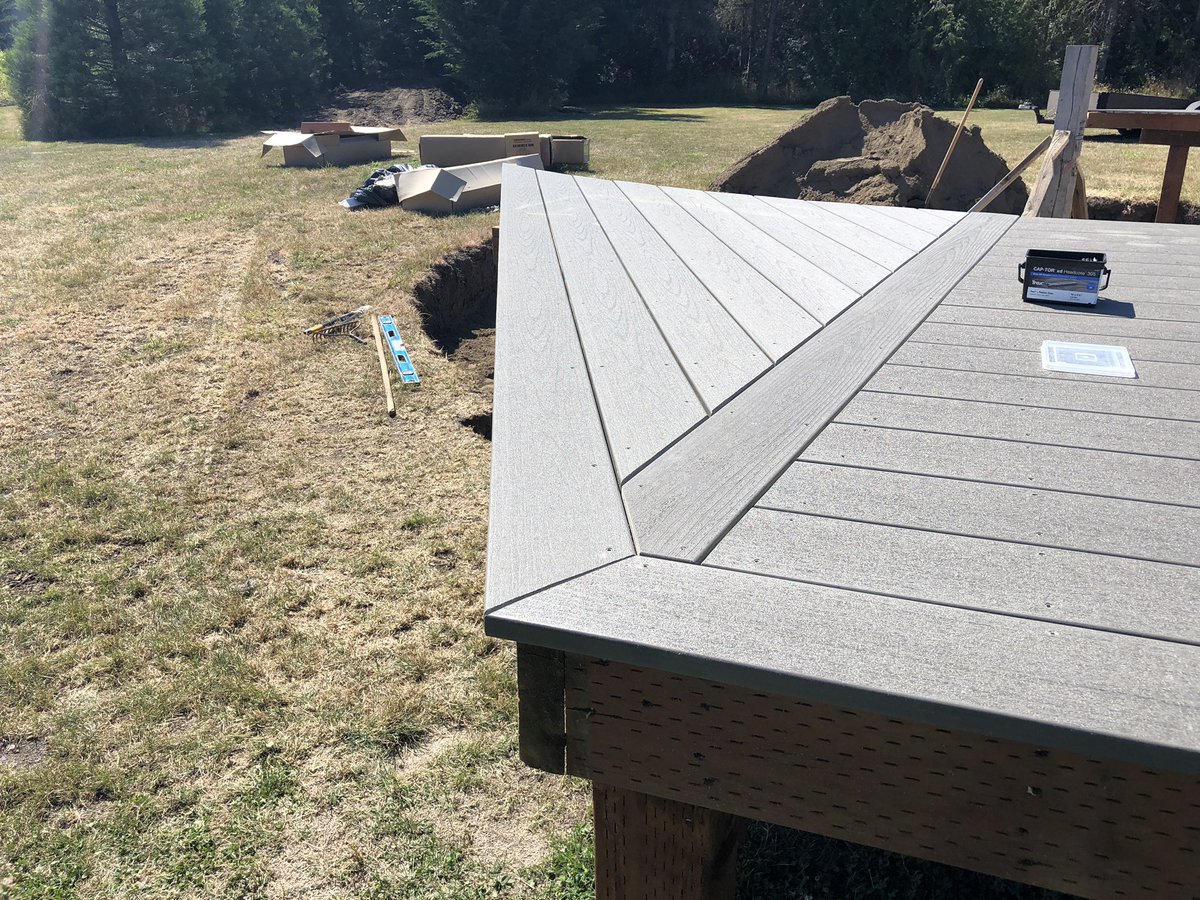
We designed the deck to end at a right angle to the pool but it didn't feel right, so we extended it with these wings. (Chyra did a great job with design all the way through.)
The decking went on steadily over the course of several days.
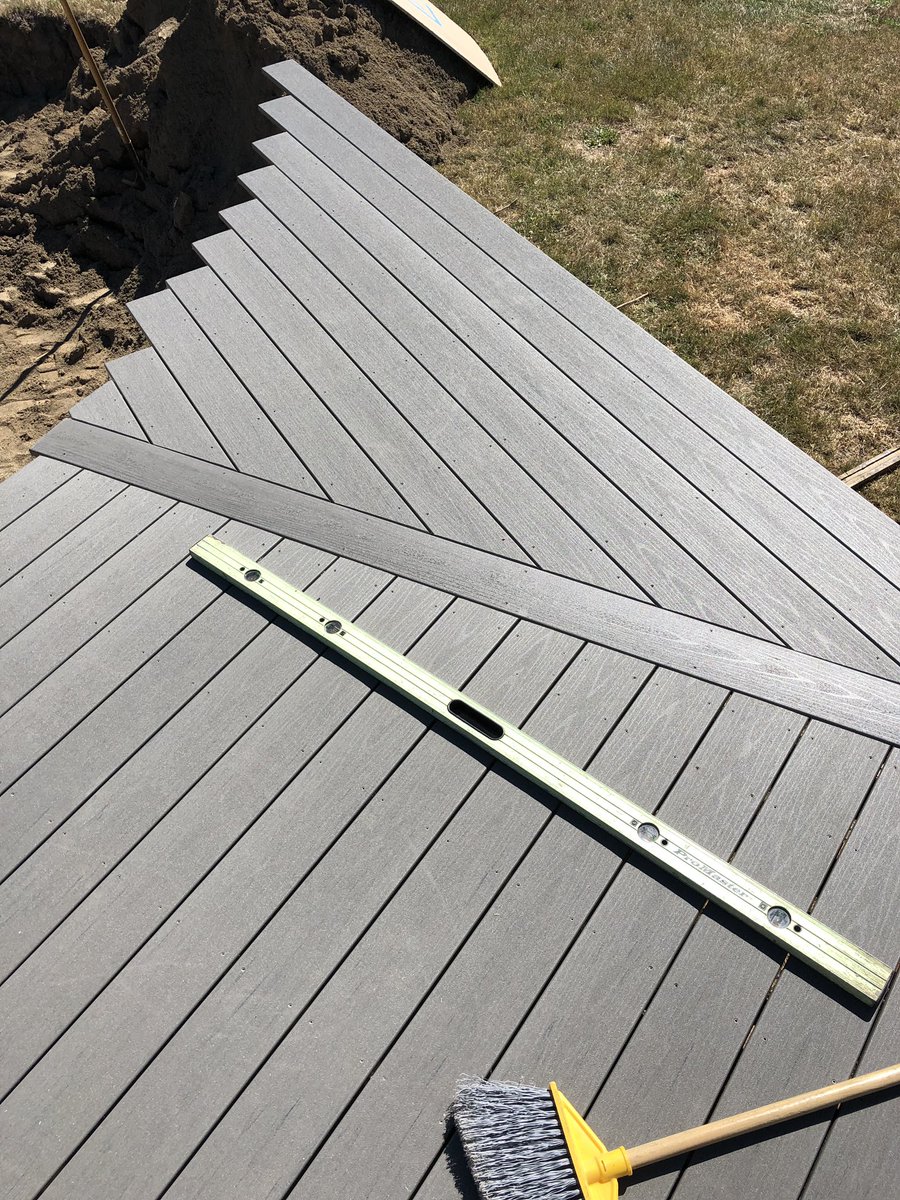


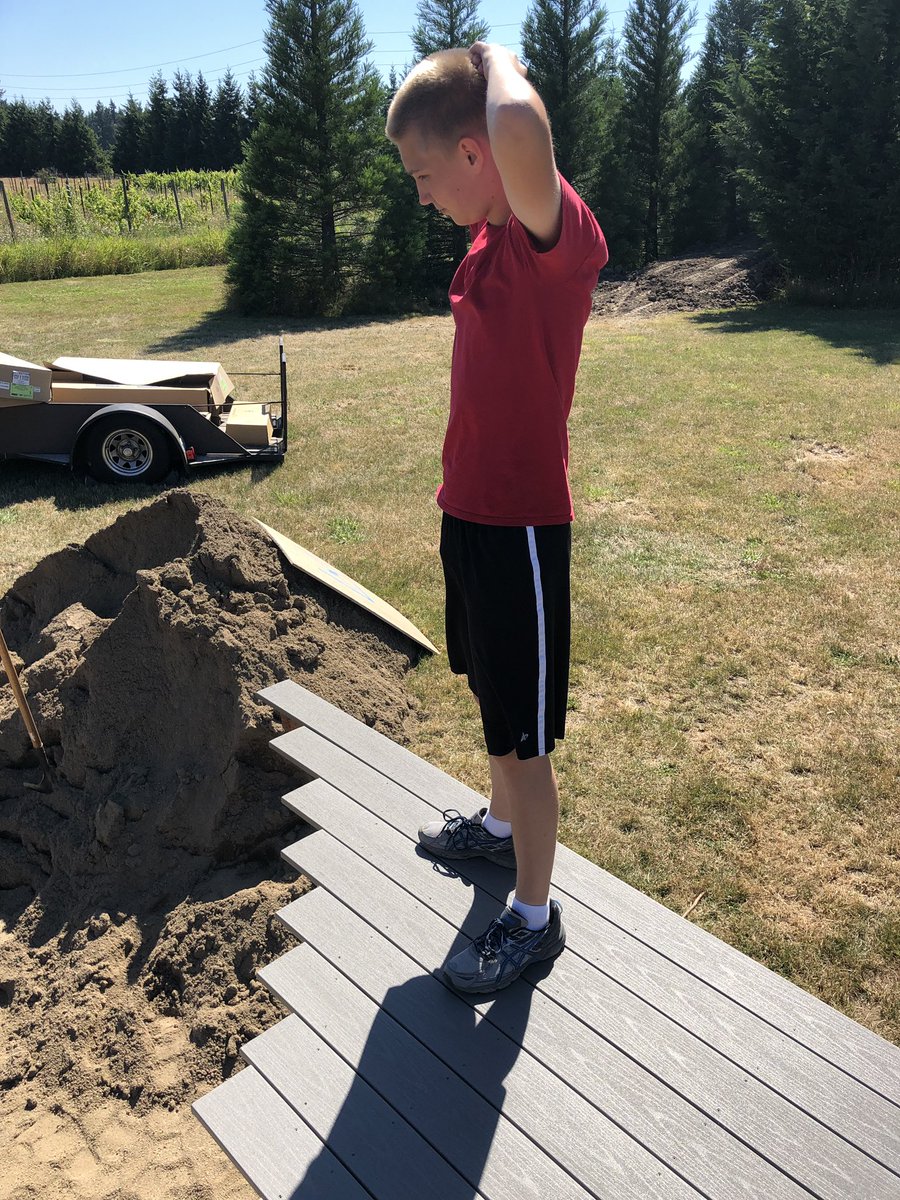
More decking photos!

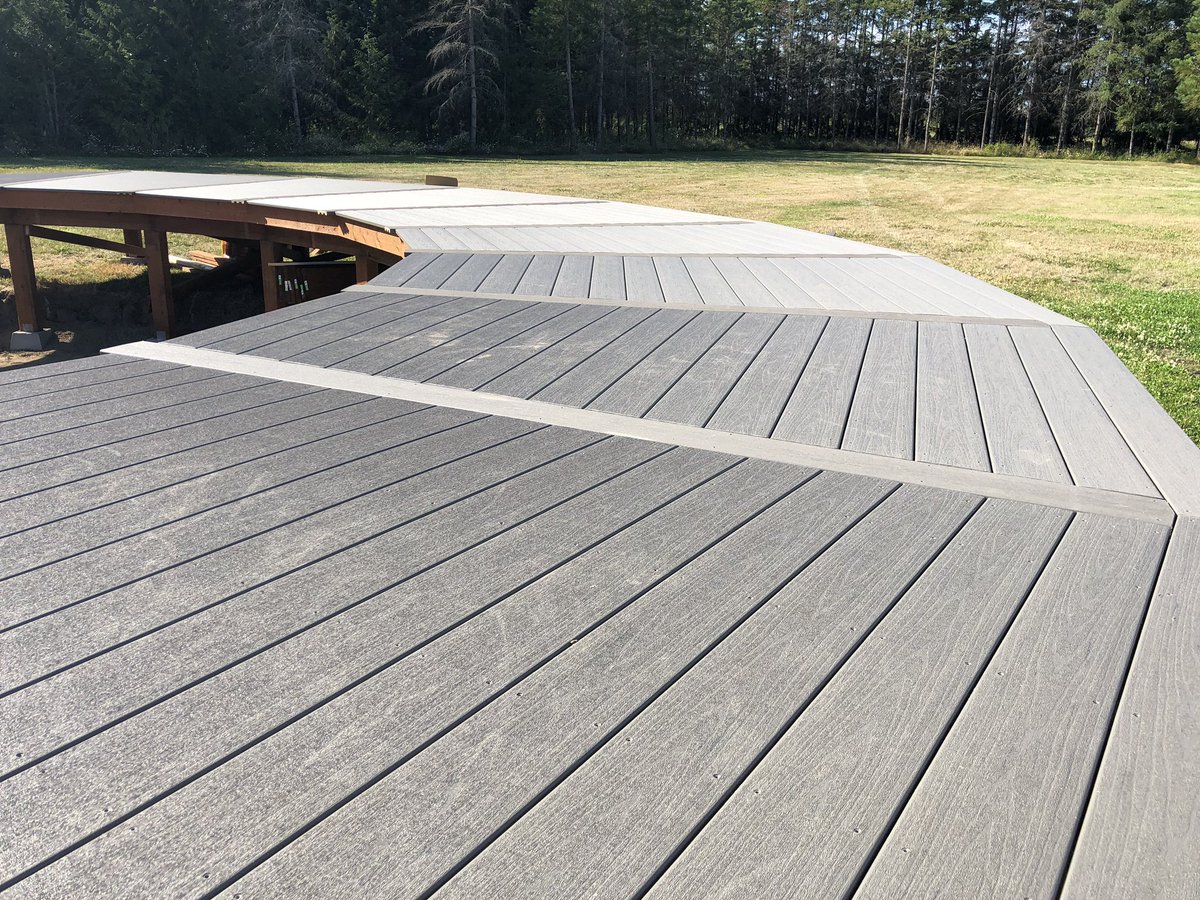


By the way, you can see the vineyard behind our house in the distance. It's a little overgrown, although I did see the neighbor working on it today, which is nice to see.
With the decking done, Walt (BIL) cut the inner curve of the pool edge off the decking, and it started looking like a deck!
I didn't get many in-progress photos of the stairway, but rest assured like the rest of the deck that it's well-built.

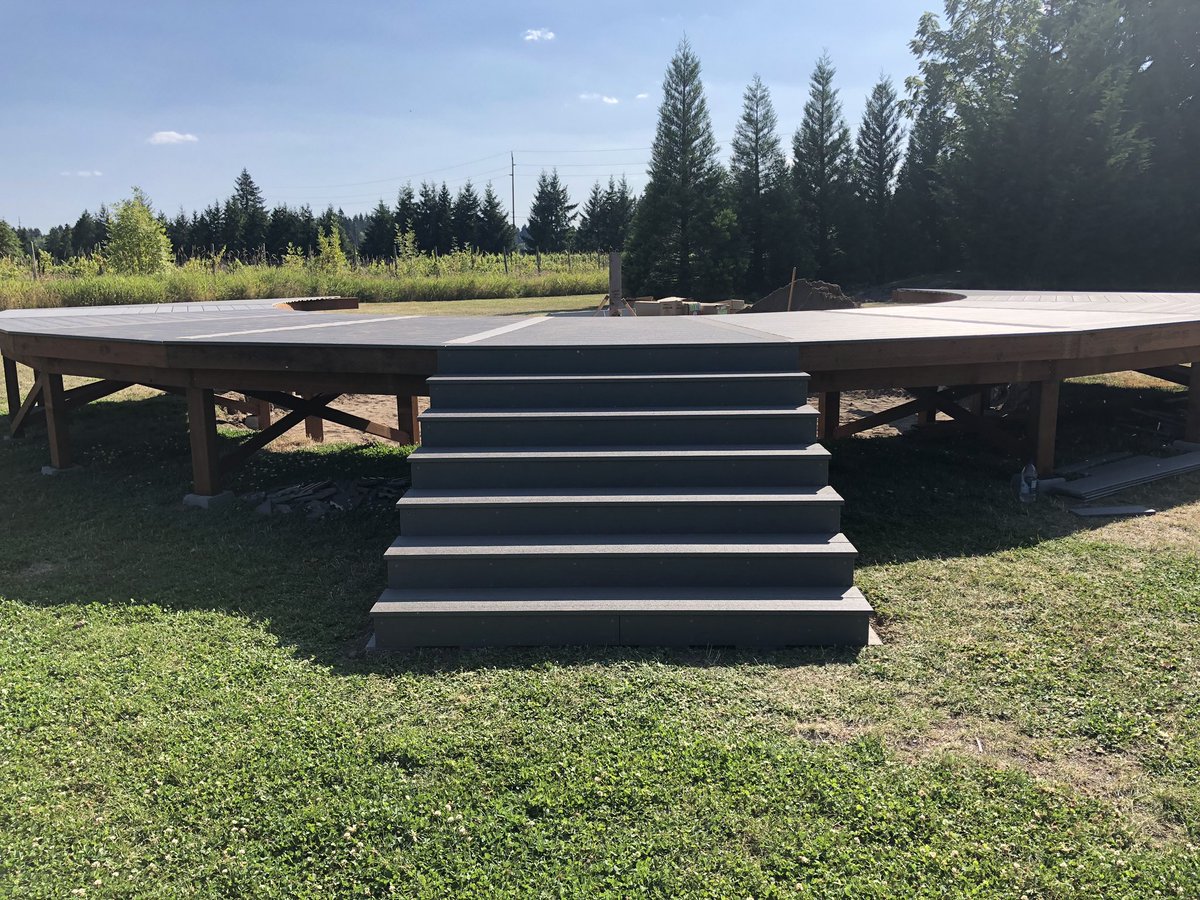


This is a good time to note that the biggest clump of clover is right at the foot of the stairway. I think we'll need to do something about it. I hate to lose the flowers for the bees but can't have my barefoot kids getting stung.

With the deck mostly done (railing and gate still to be done, as well as the skirting and some other odds and ends), it was time to level out the sand and get it up to grade. A screed board around a central point works well for this.
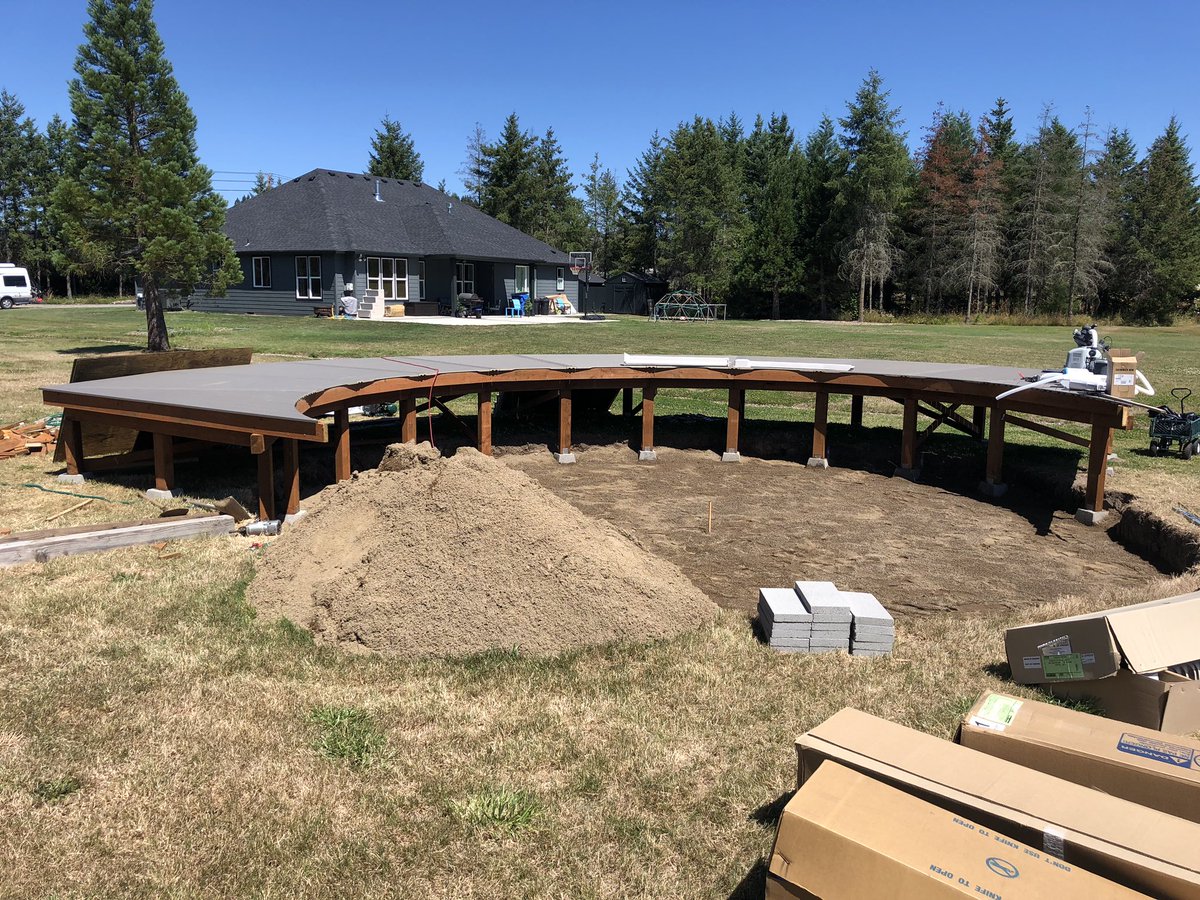
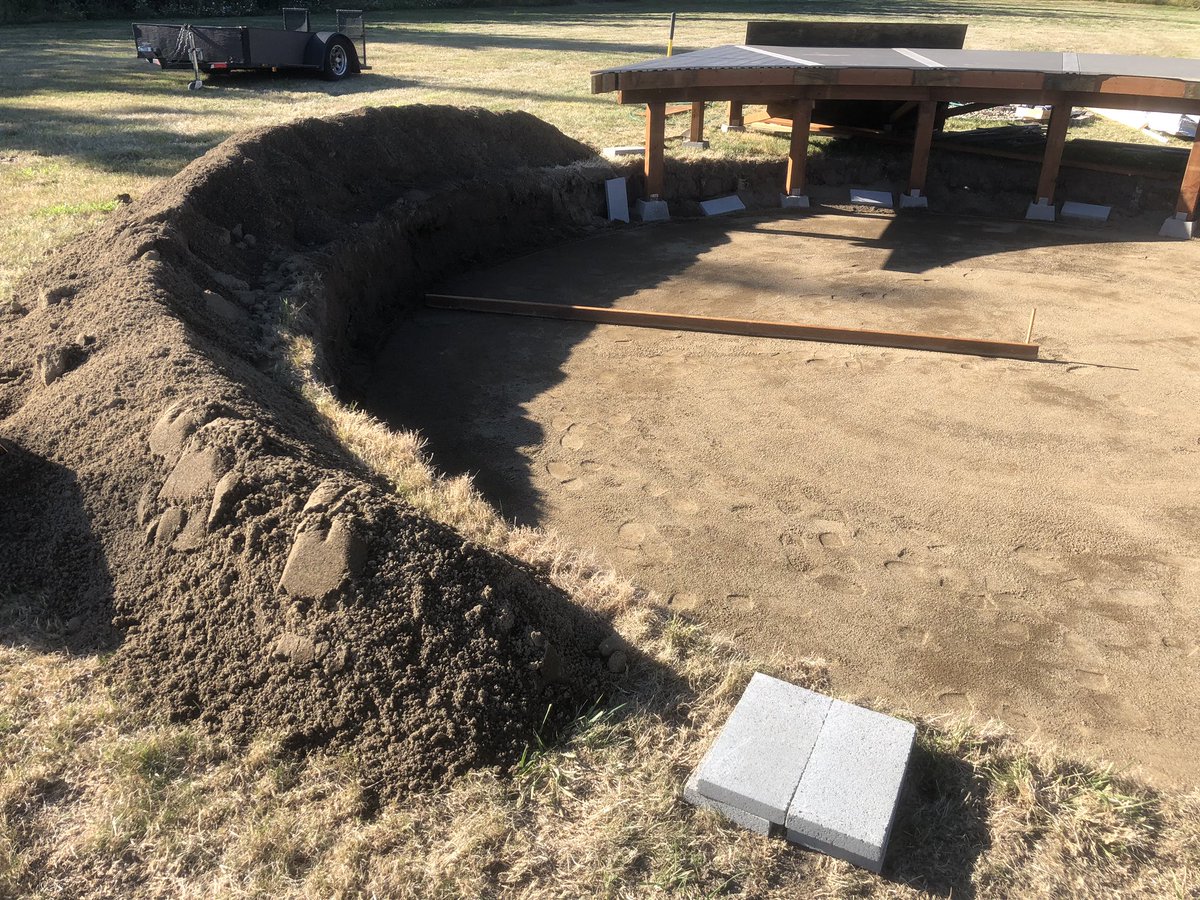
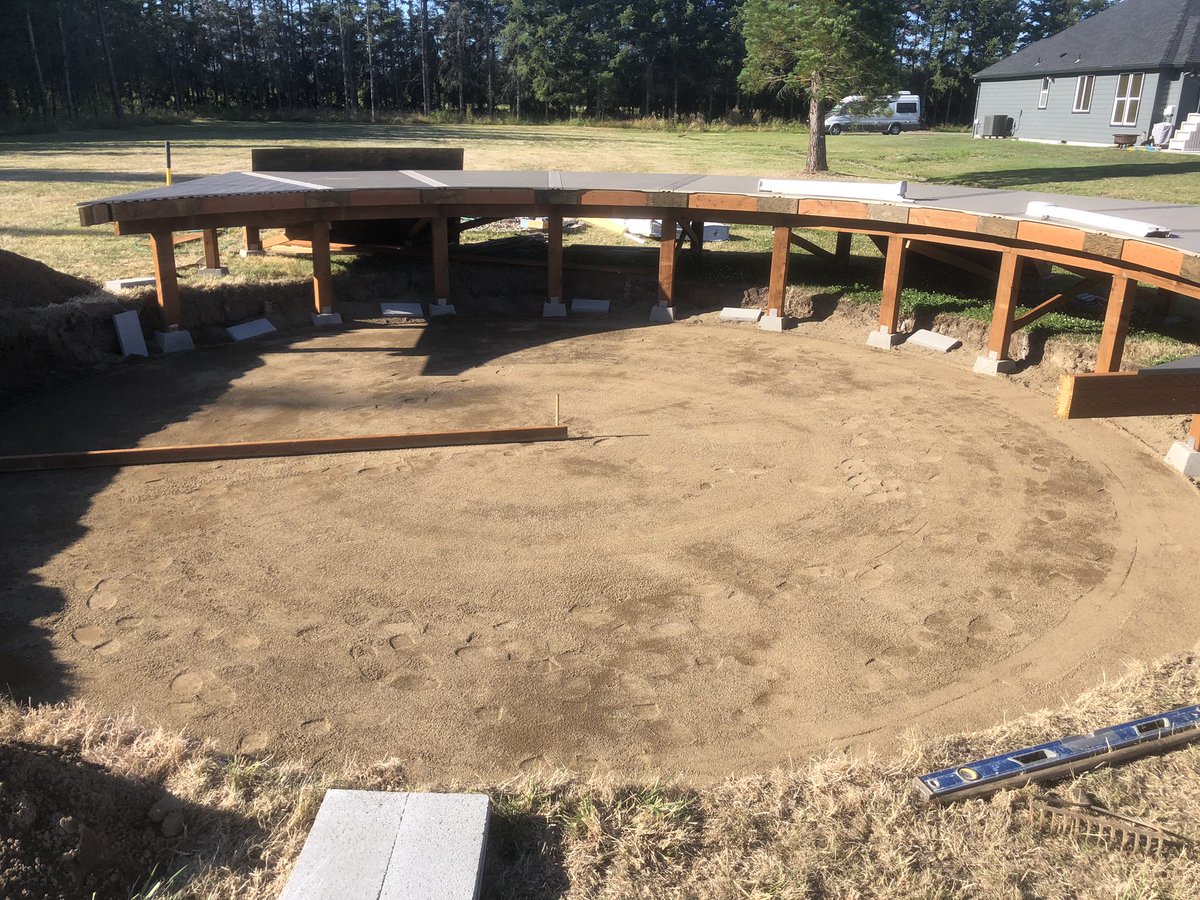

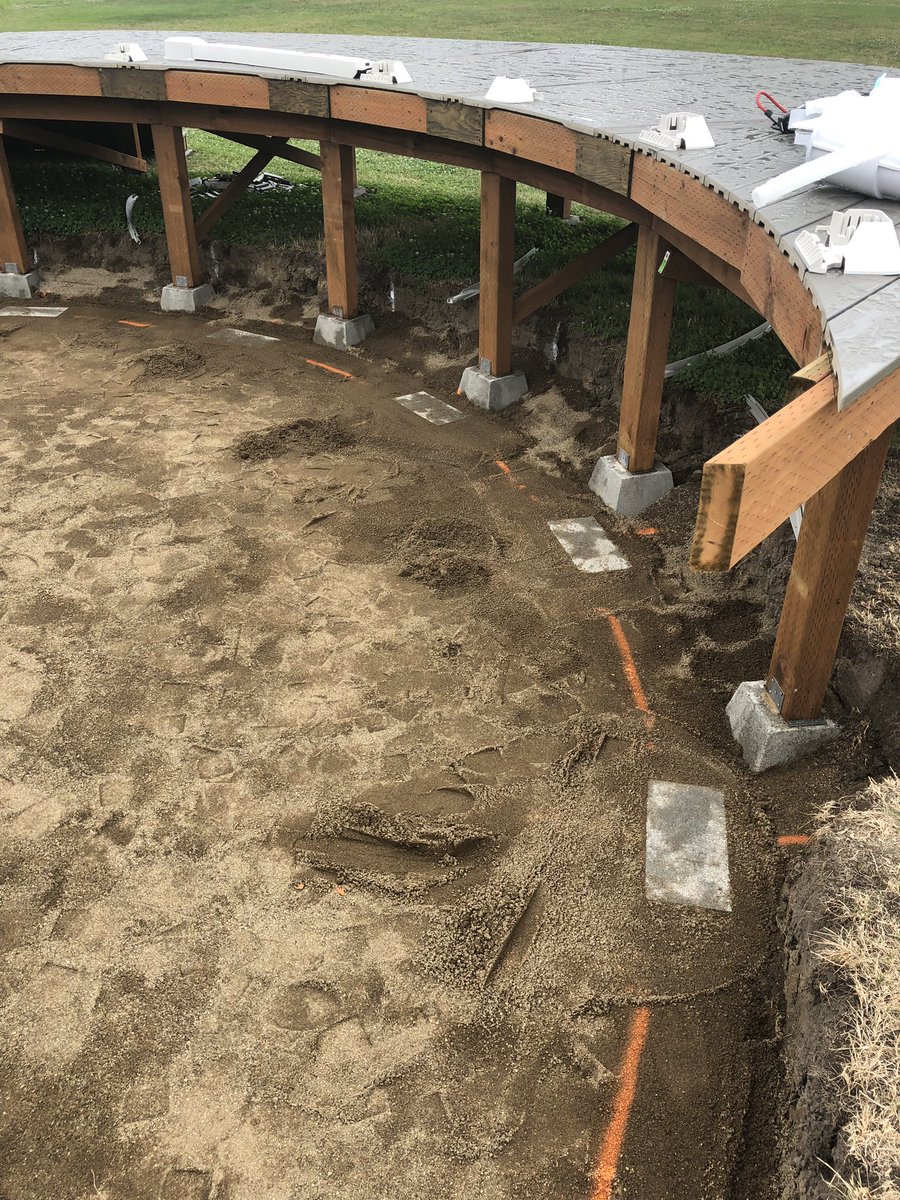
Walt then added pavers where each pool post will go and leveled them. Everything he does is within fractions of an inch — a real craftsman. He also tamped down the sand to compact it.
Time to unroll the pool outer wall!
(She's cute 😍)

The wall is made of coated steel and is pretty heavy. It was a big job — took all 4 of us.


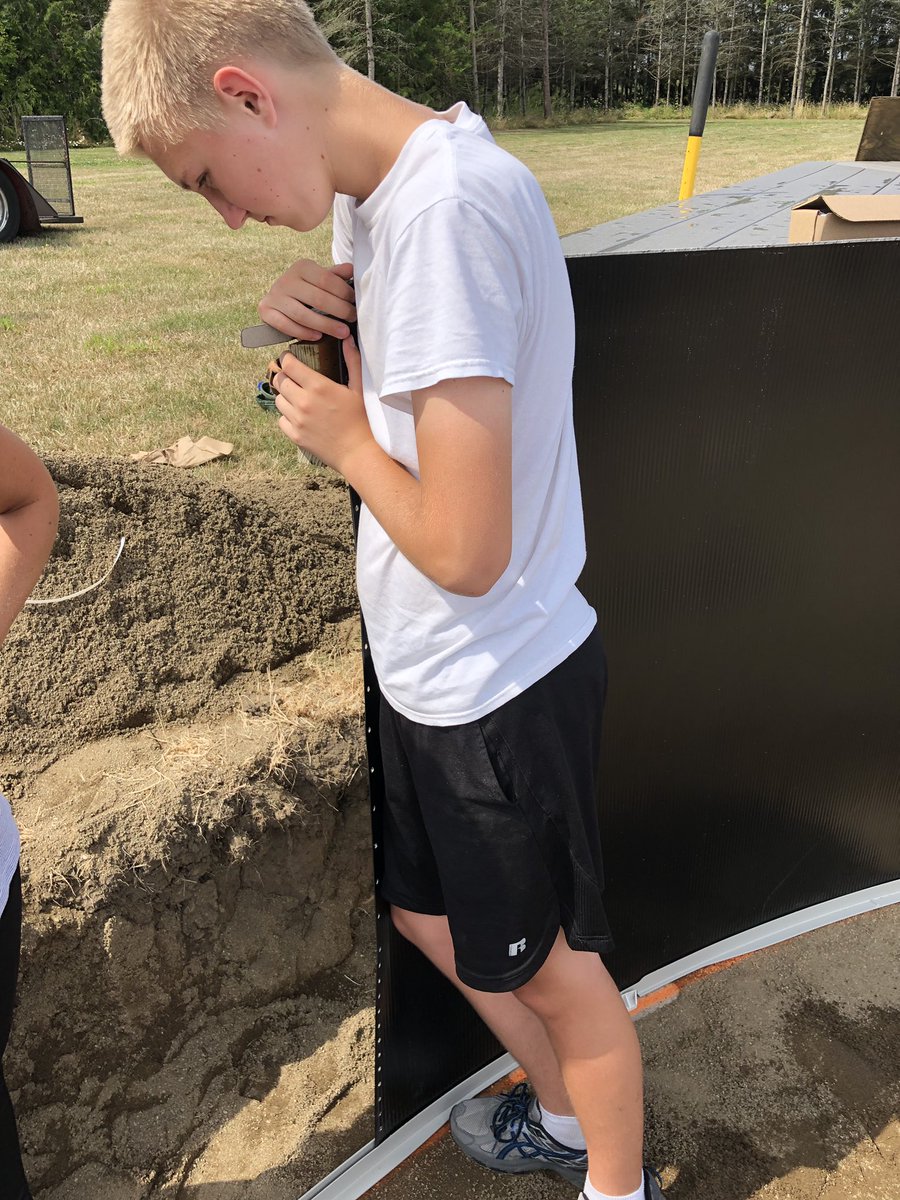

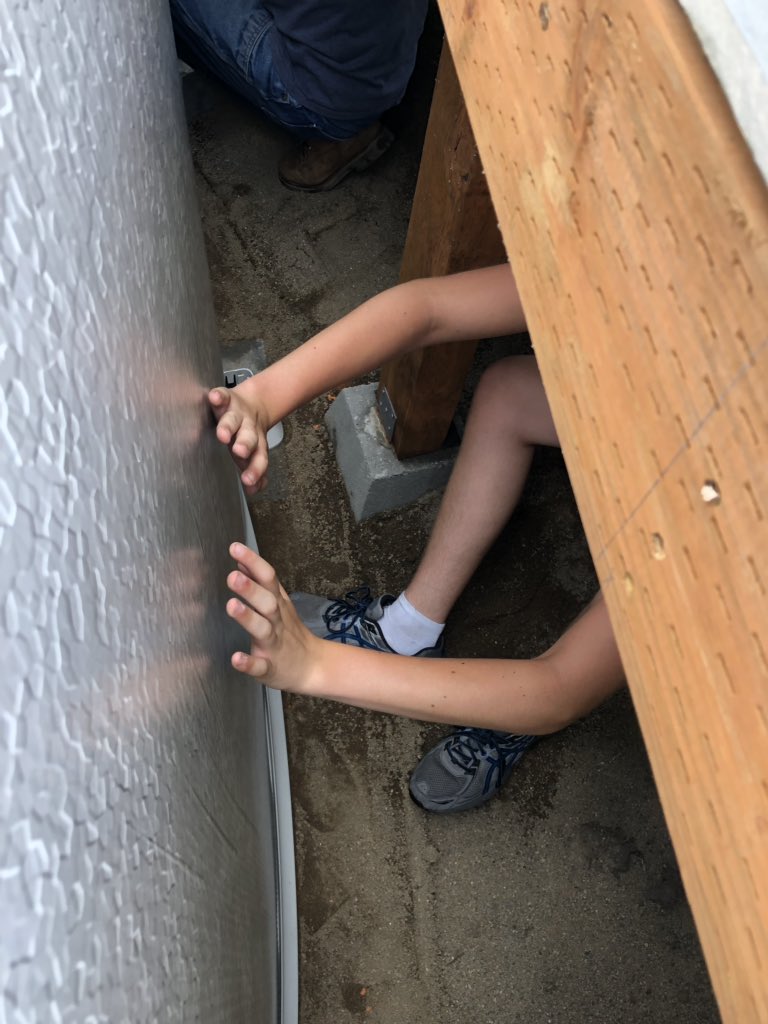
We had to snap it into the bottom plastic rail. Cedric got under the deck to help.
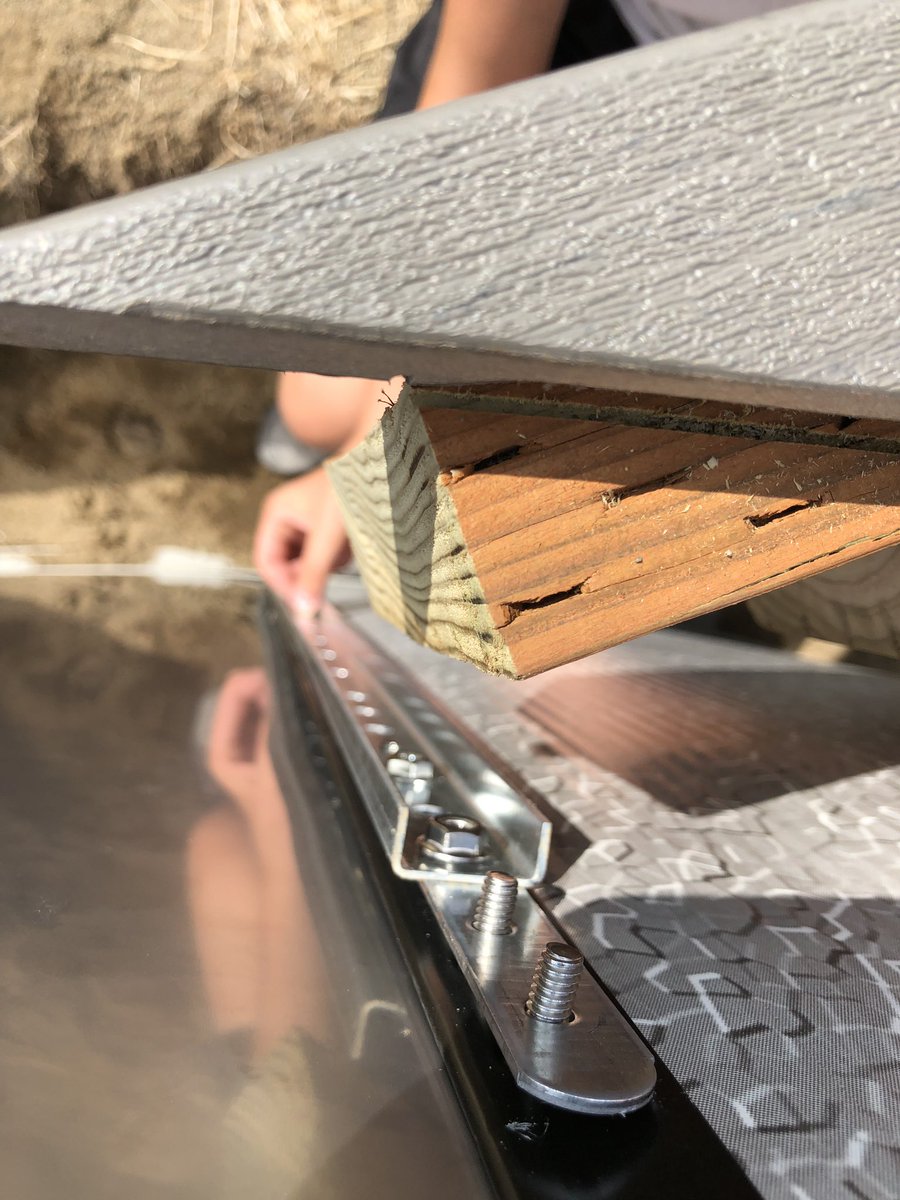
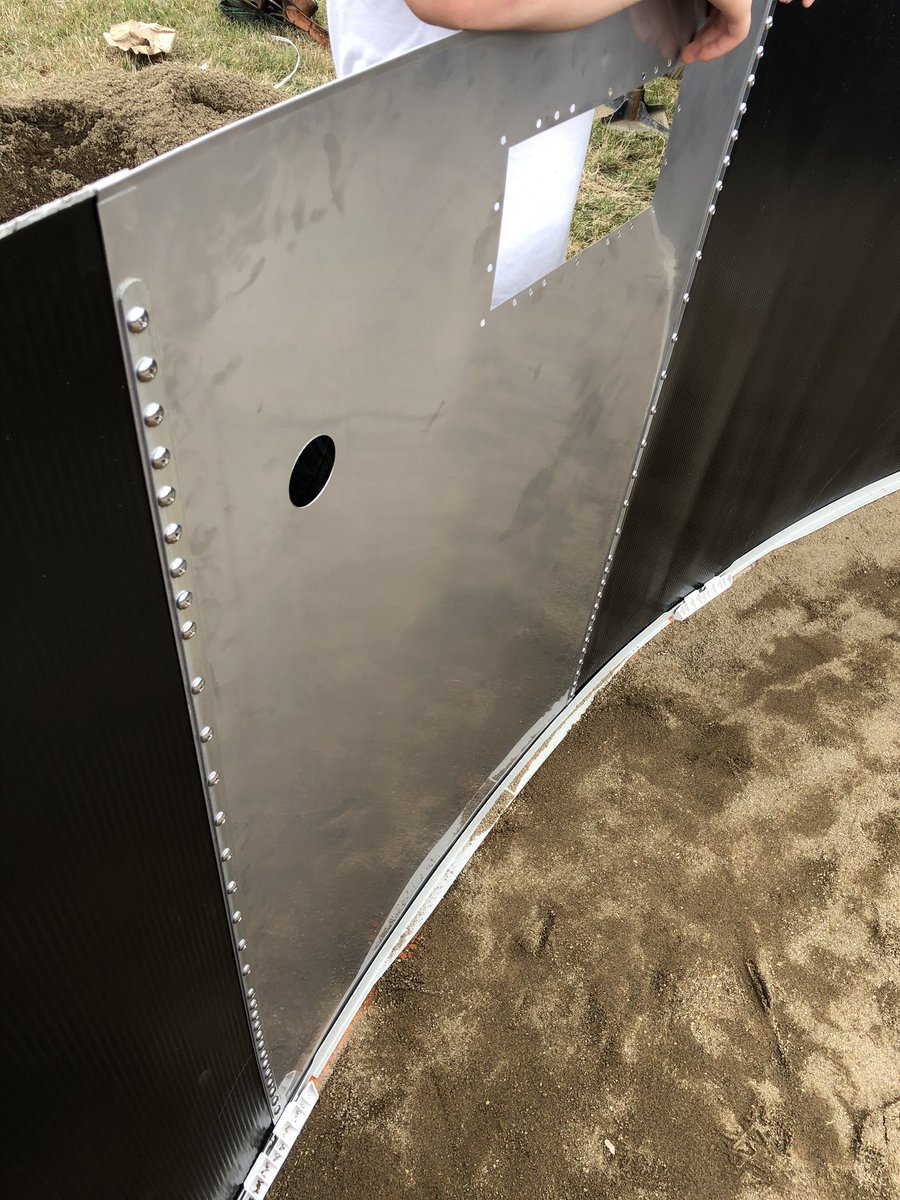
The final panel was a stainless steel one that is bolted (with many bolts) onto both ends of the wall.
We screwed up a few times and had to redo it.


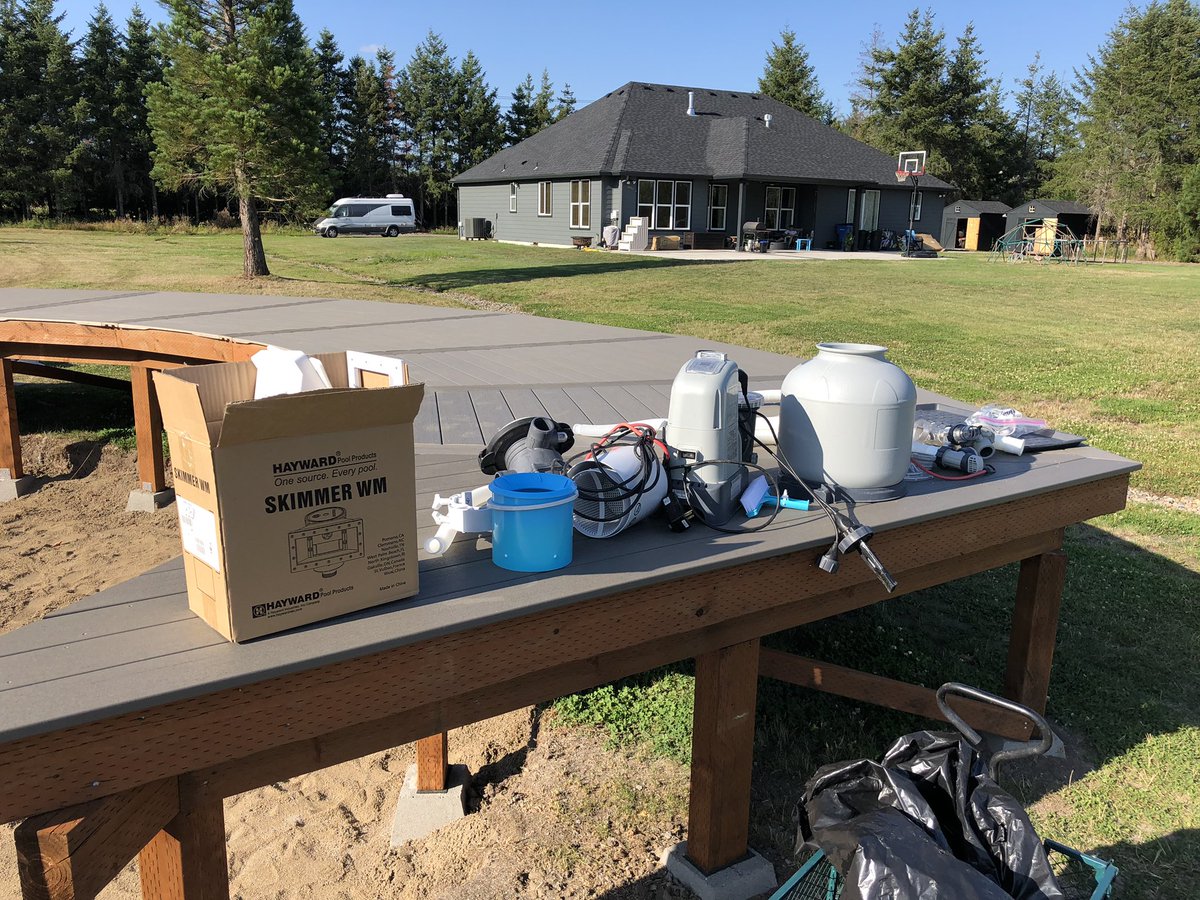
So I kept the pump and filter from the old pool. I was nervous that it wouldn't fit to the new pool's skimmer and outlet jet but it did. I was pretty happy about that.


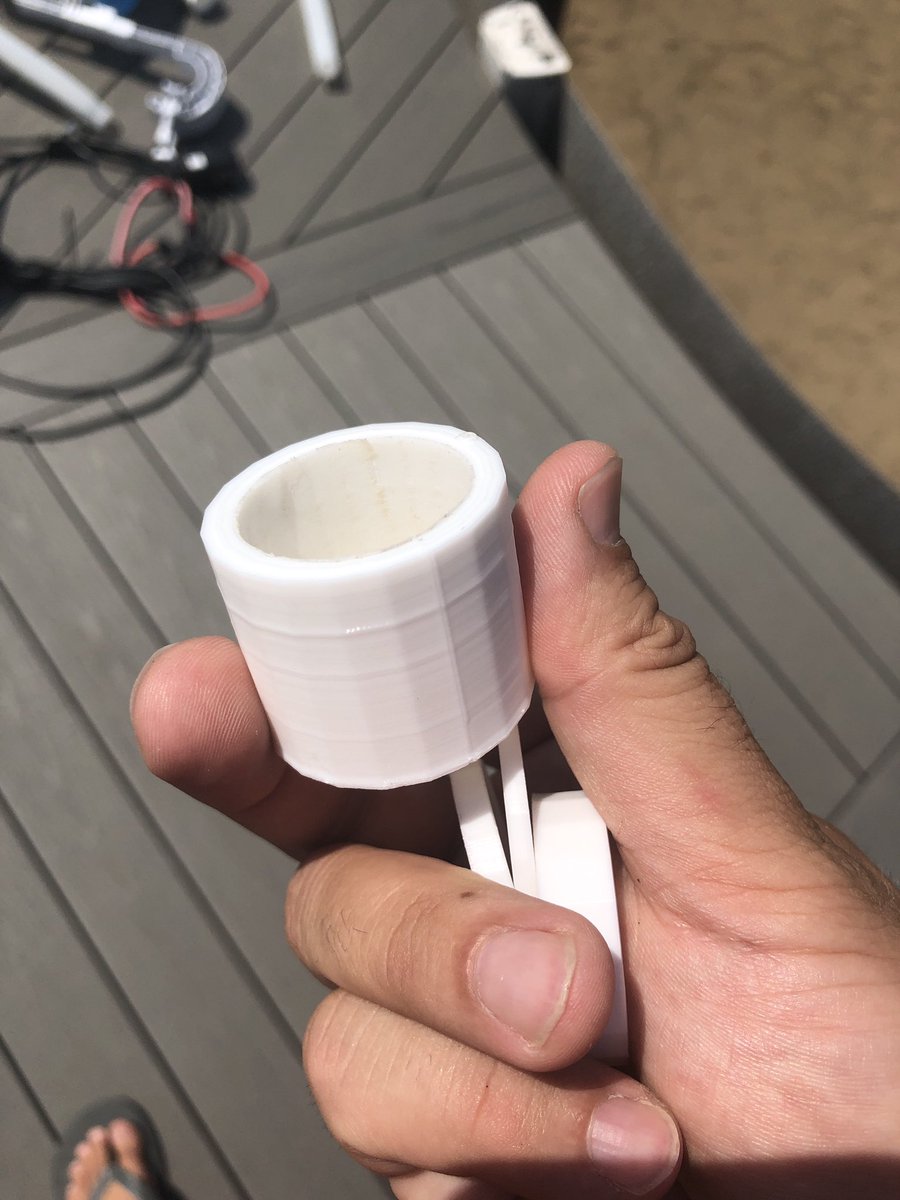
One intake needed to be capped off, so I had my dad 3D print me a new one. He's still pretty new to it so it took quite a few tries. In the end he bought a 1-1/4" PVC end cap and it fit perfectly, so I didn't get to use his 3D printed one. Oh well.

Unfortunately, we had to stop because the instructions say that we need 3" of sand in the bottom *inside* the pool wall (doesn't make sense to me). So I'm waiting for a load of sand Monday from my sand guy.
I'll also call The Pool Factory and see if it's strictly necessary.

Sand guy was here this morning. I had him dump it in a more hidden area behind a bunch of young sequoias. Walt will bring a tractor here and use it to dump more sand in the pool bottom.

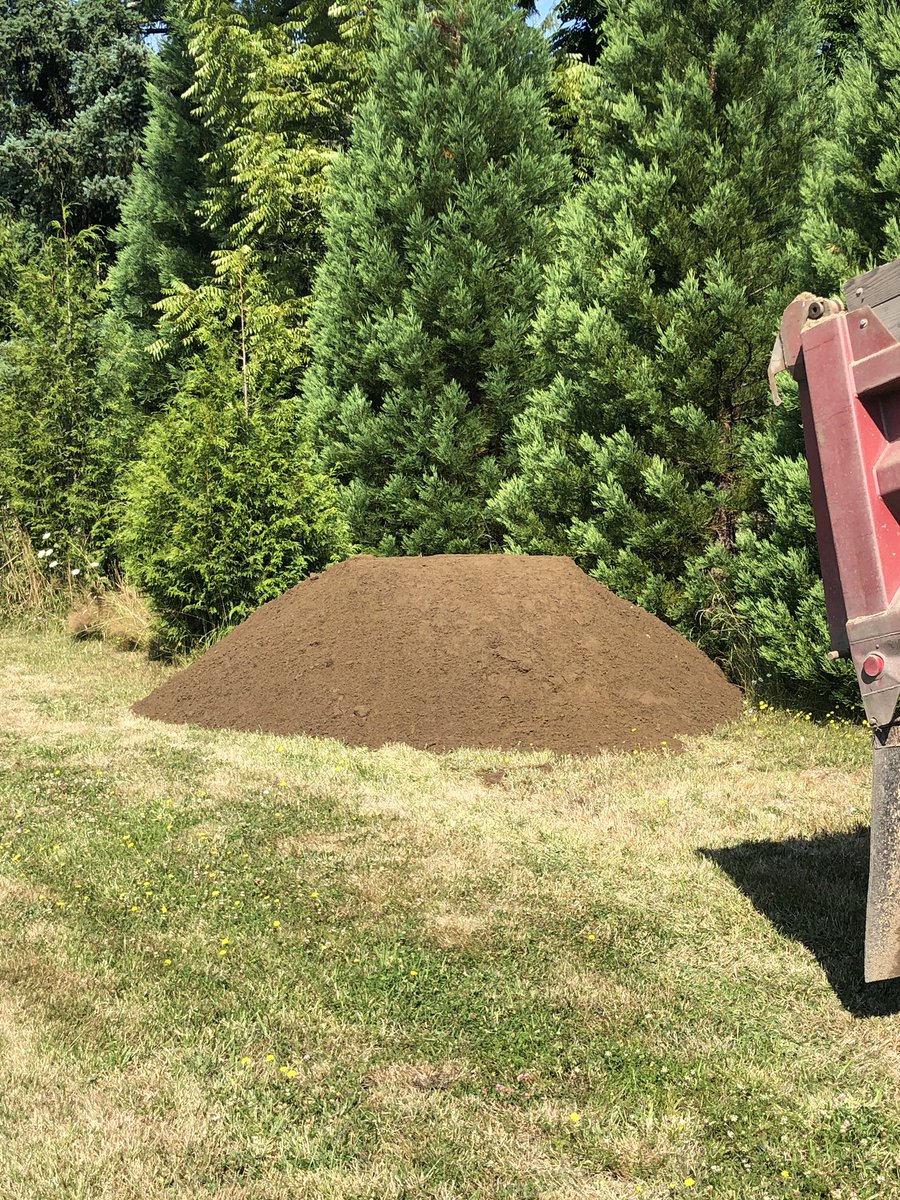
Walt had called @ThePoolFactory but they said you absolutely need the 3" of sand in the bottom. Bummer; this isn't really a 54" pool then, if you lose 3" of the bottom.
Walt using my father-in-law's old John Deere tractor to dump extra sand in the pool. Ced is waiting to spread it out.
Time to add the liner!
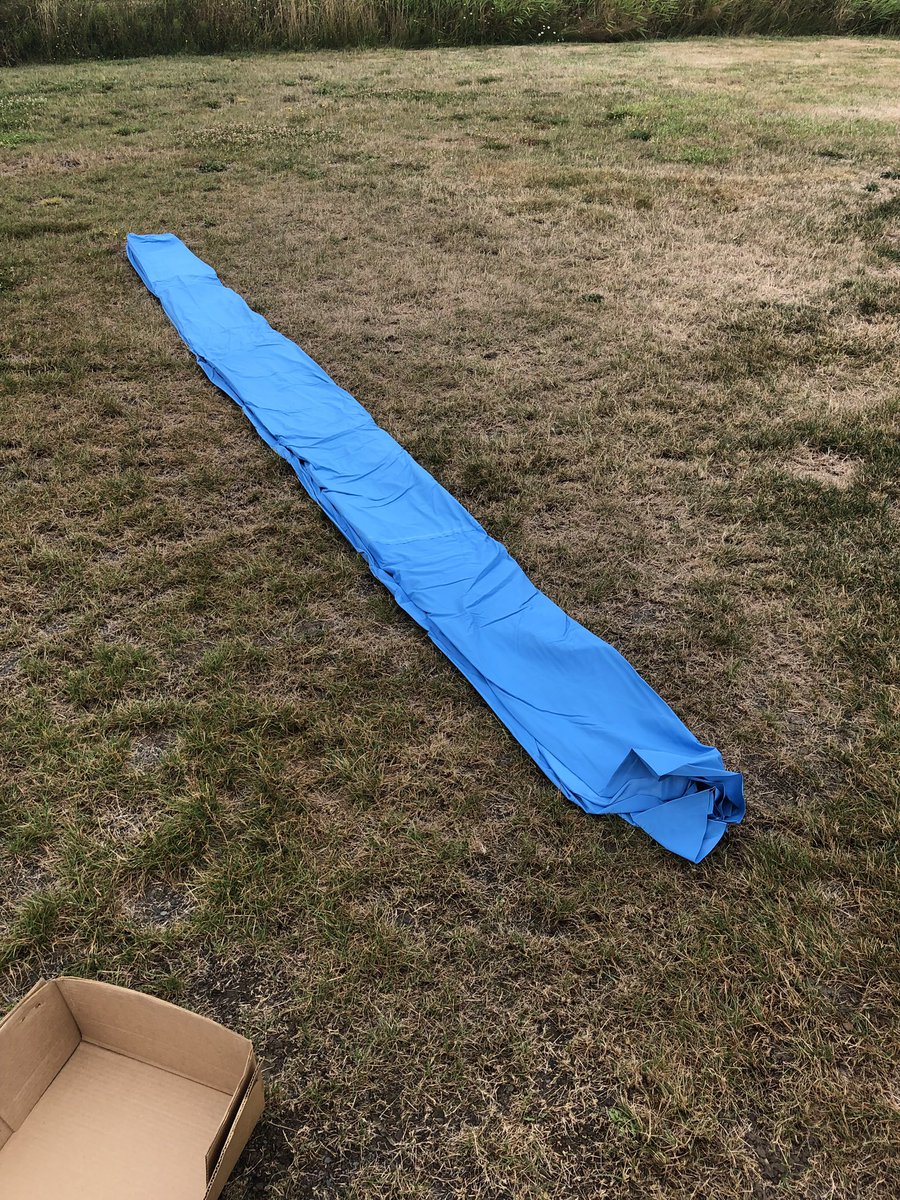

We attach the liner with these strips, just temporarily as we will need to tighten it as we fill the pool.


Filling the pool and tightening the liner as we go.

14,000 gallons will take 24-48 hours with a hose. It'll cost about $34 worth of city water.
Up to 3"! About an inch per hour which seems like 48 hours will be about right.
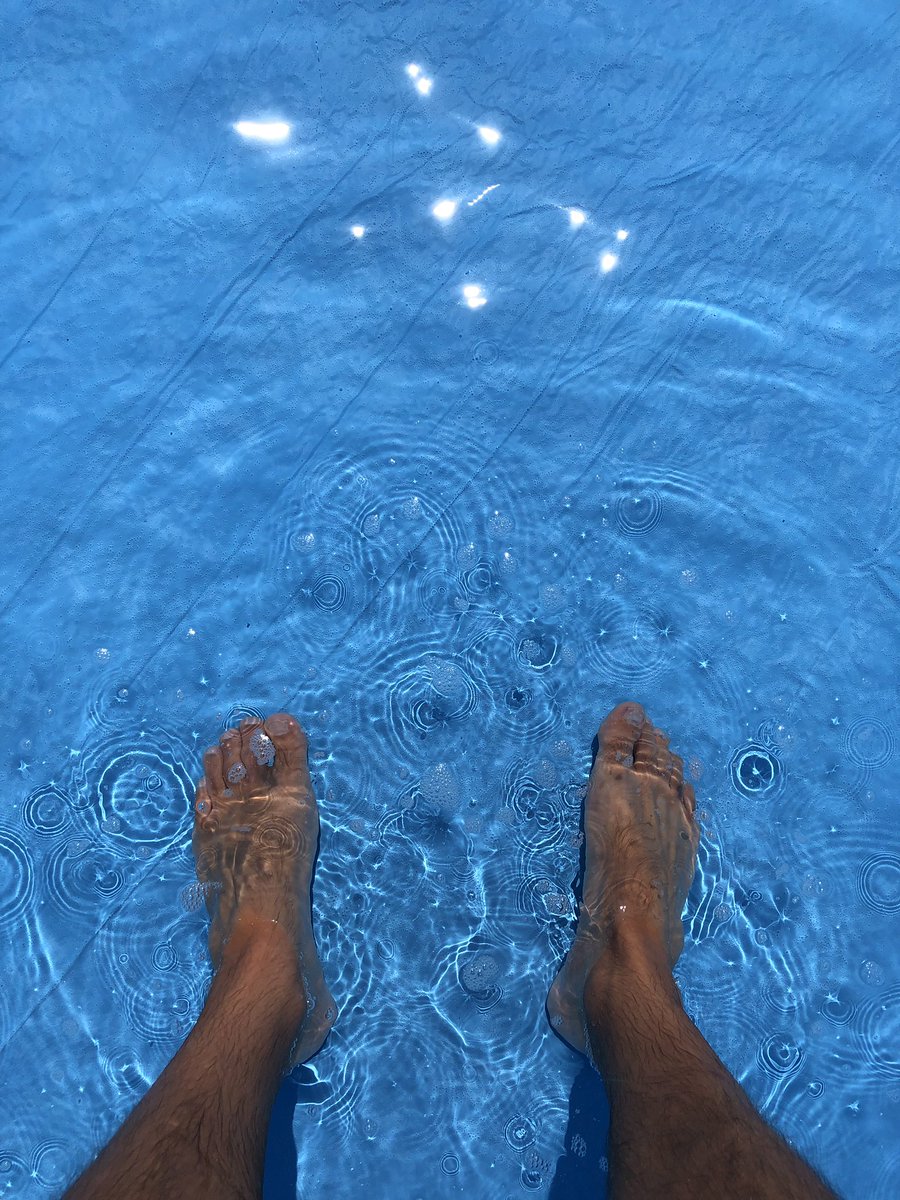
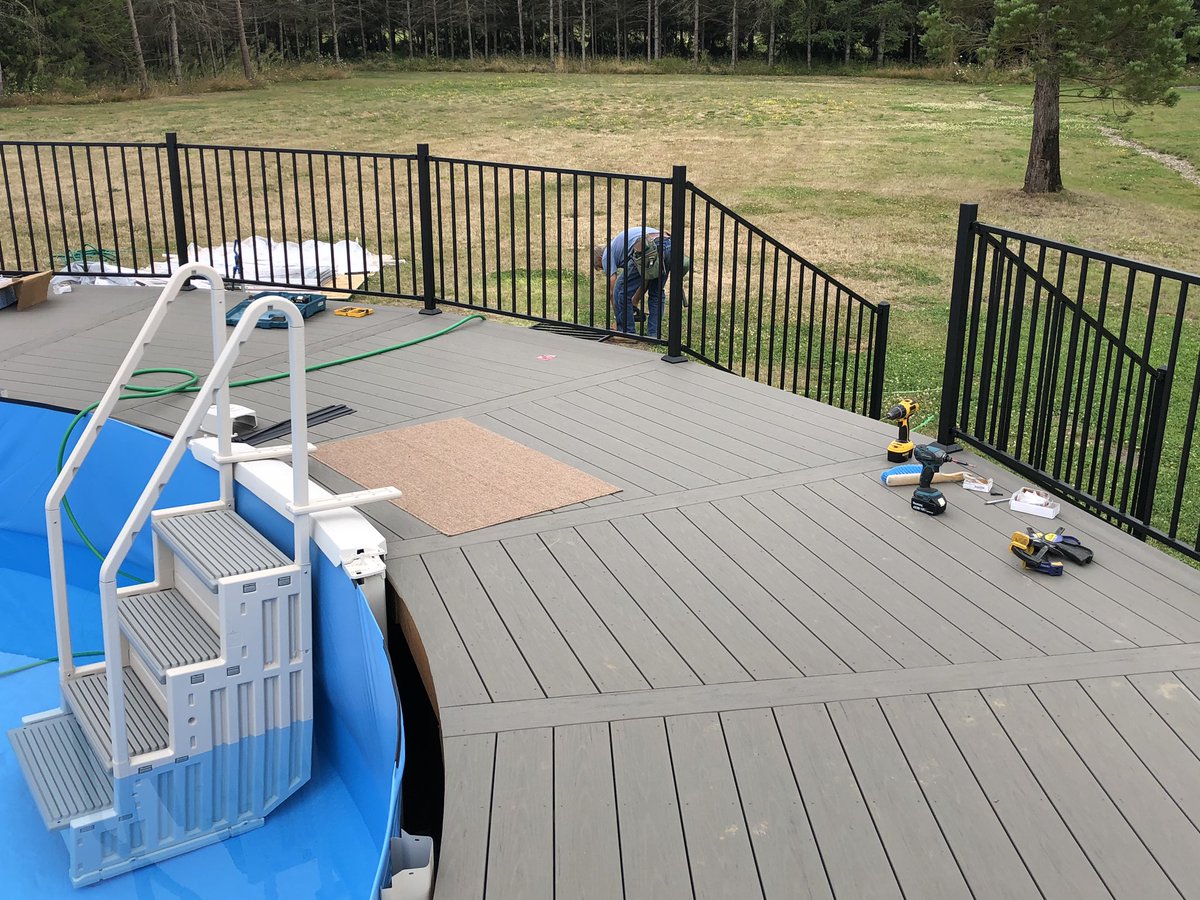
Railing posts going up now.


So @ThePoolFactory said that we *had* to put the 3" of additional sand in the bottom, but based on how much liner overlap we have on the walls, we definitely could have done without that. (We already had 3" as a base.) We could have gotten 2-3" of additional depth. 😒

It's starting to look like the final shape!
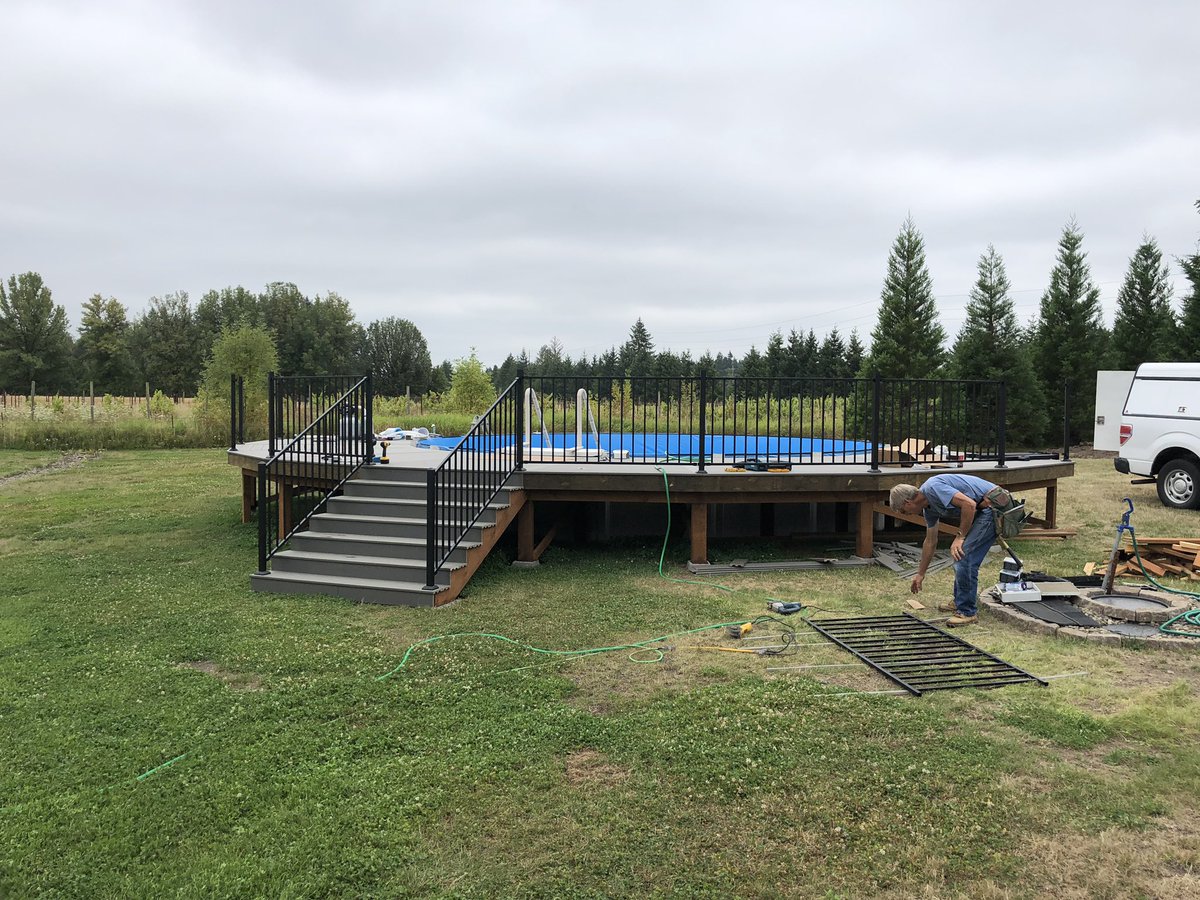

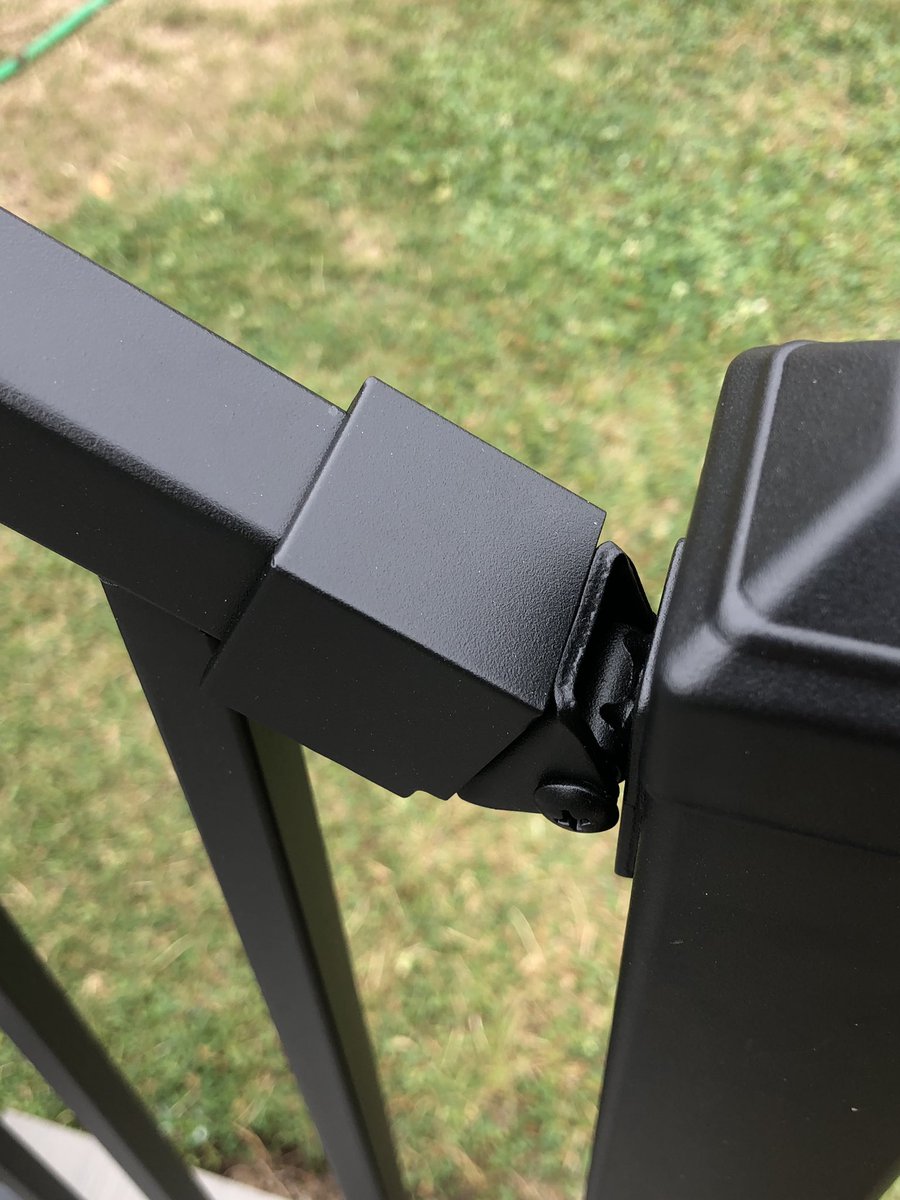
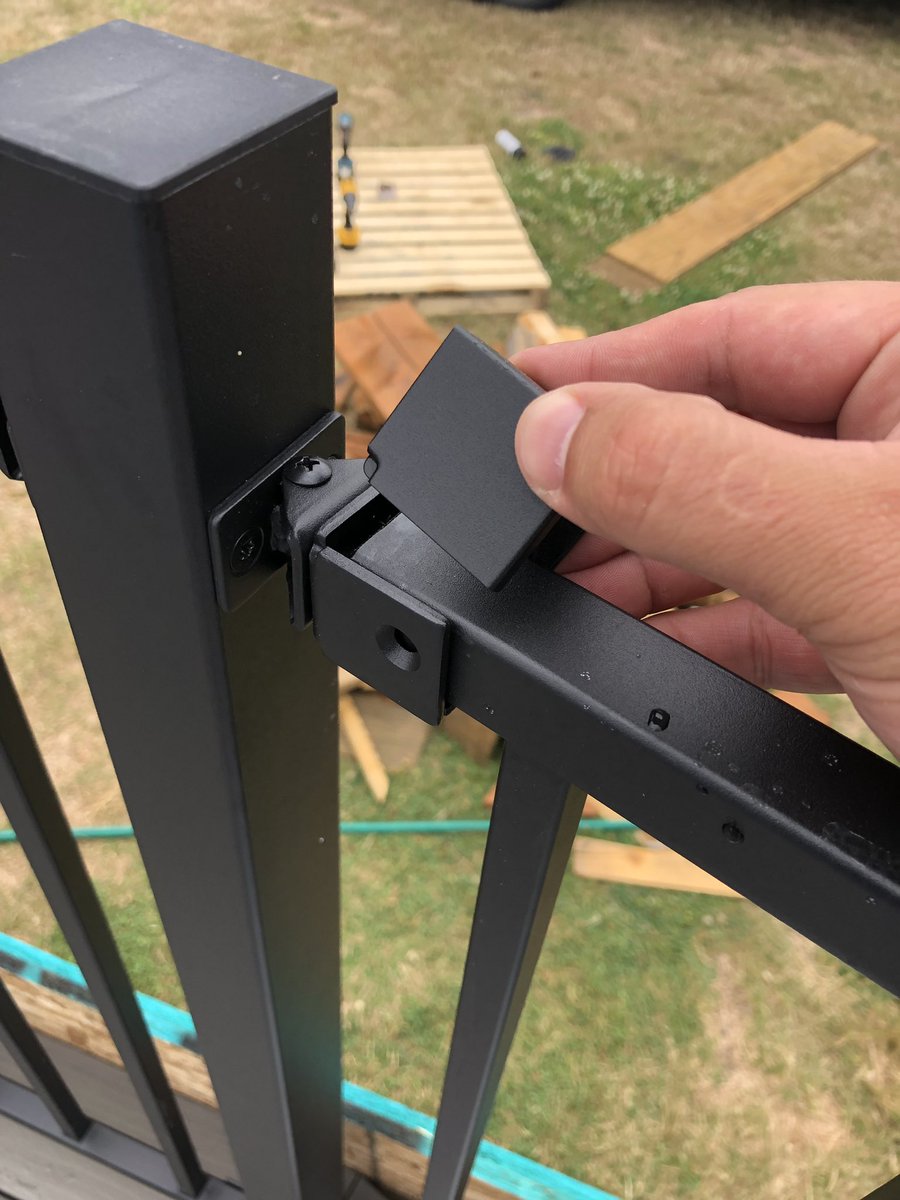
The railings are attached with these clever attachments that allow different angles.
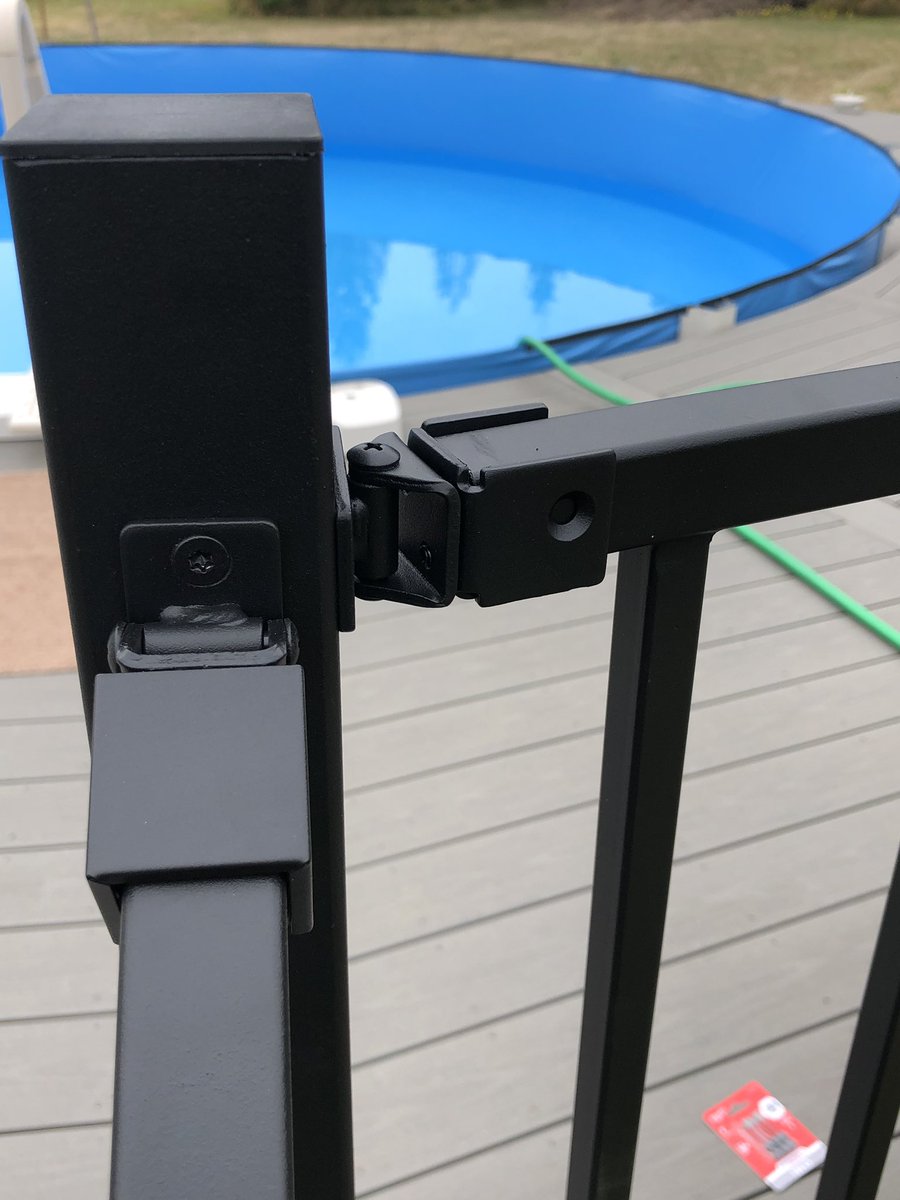
We're estimating it'll be done filling by late afternoon tomorrow.
I need to set up the pump and filter soon.

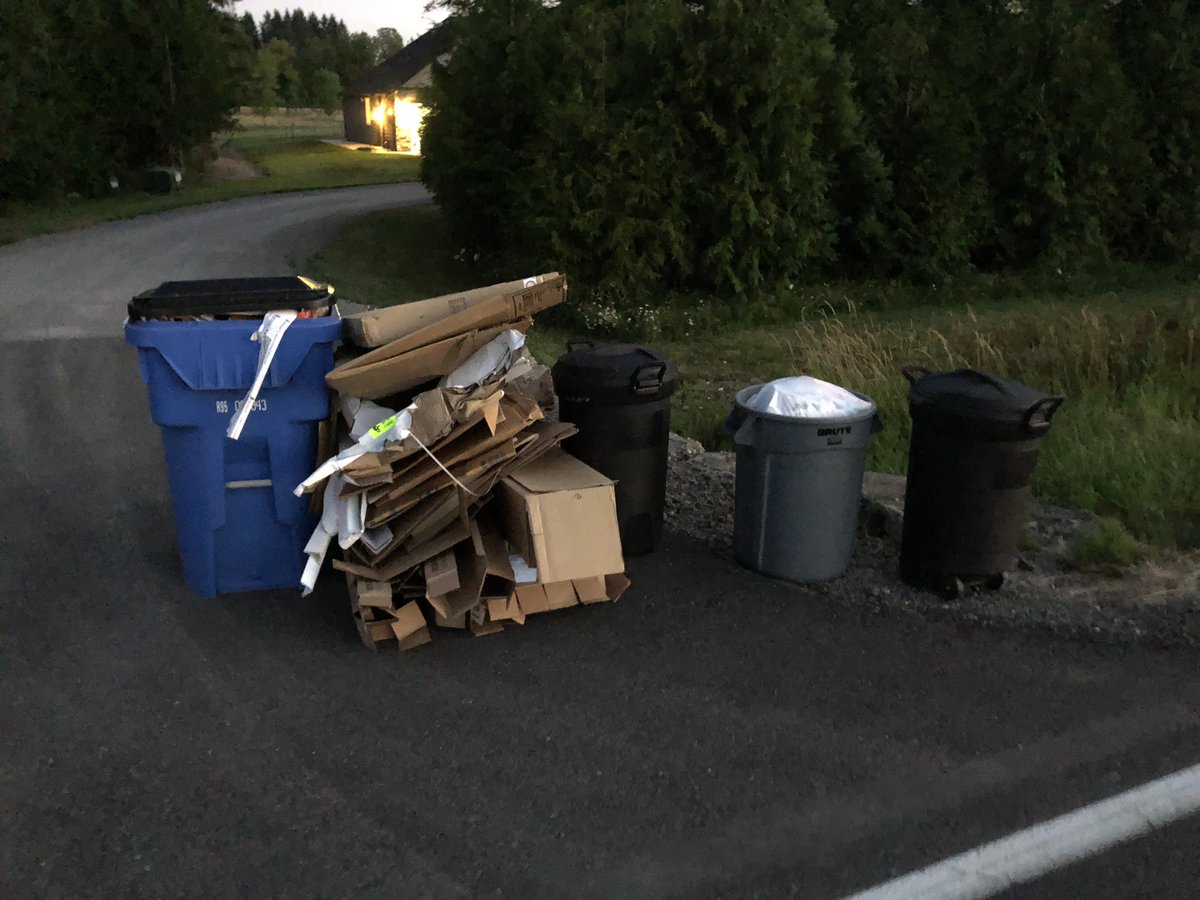
The project generates lots of cardboard boxes. I'm happy to have a lawnmower with a trailer so I can haul it to the street.
If you have a riding mower, I recommend getting one of these trailers. I use it all the time, for hauling dirt, bark dust, rock, packages, etc.

Picking up salt ($14 for a 40 lb bag — need 9 of them) plus a bag of filter sand. The trailer hitch rack works well for this, although I put some of them inside the Wrangler.

Setting up the skimmer.


Backfilled a portion of the outside (water is high enough to support it) and grabbing the pump.
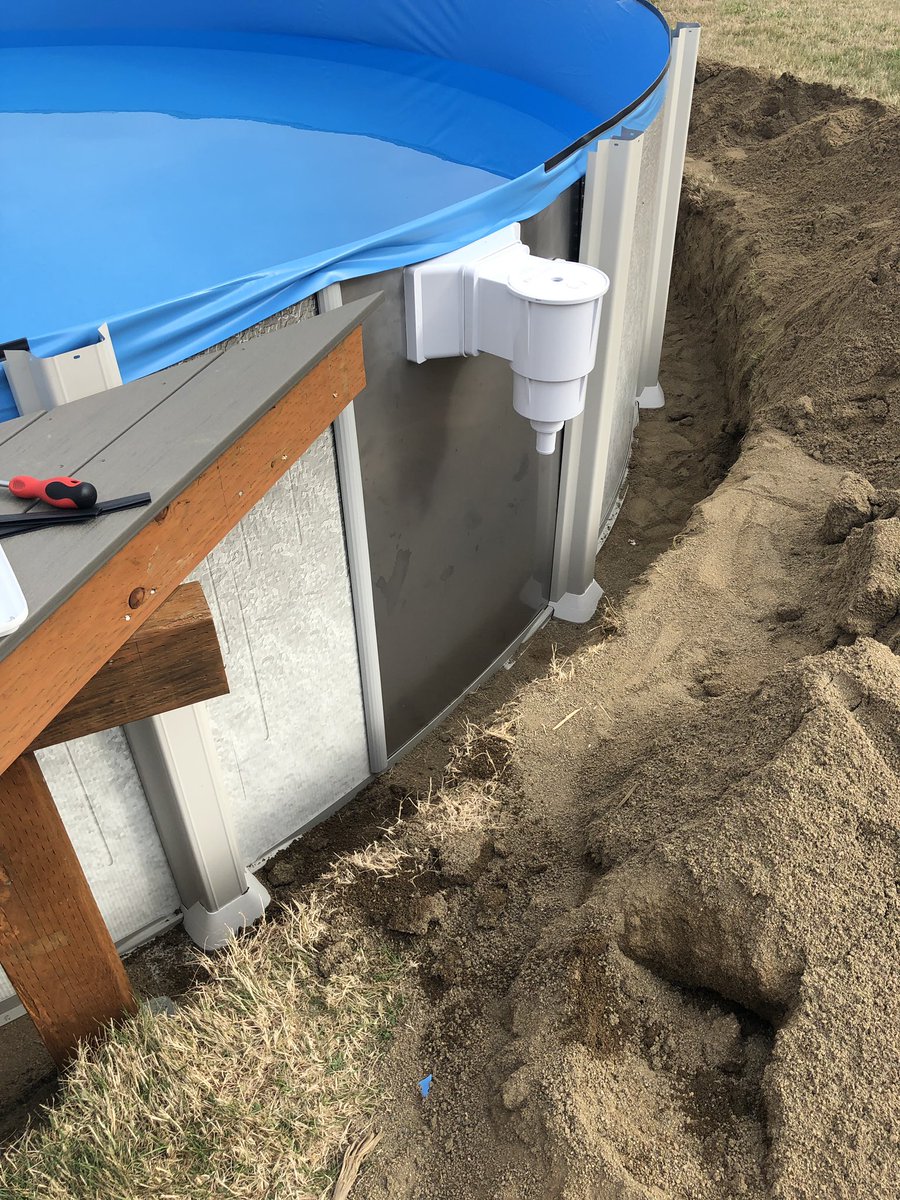

Pump set up. Waiting for water to get up to the intake so we can test it. I did turn it on with hose input and it worked, so that's cool. I had to do some modifications to get the pump to attach properly (it isn't for this pool) but no leaks that I can see!

We see here a felis catus in its natural habitat. Only these iron bars prevent our being attacked ferociously.

Water is high enough to turn on the pump!
Trying not to fall in as I dump 40lb bags of salt in. Even with quick-dissolving pool salt it still settles on the bottom. I'll have to use the brush/squeegee to mix it up.


Long handled brush
Just shut off the water. Just under 48 hours of filling to hit the level we want.
Salt level is 2045 PPM. We need to hit 3000-3200. The ocean is something like 30,000 PPM, so you won't really taste any salt in this water.

That temp is wrong though. It's like 62 degrees.
These are a big pain in the butt to put on. I've cut myself multiple times. @thePoolFactory needs to design better posts IMO.
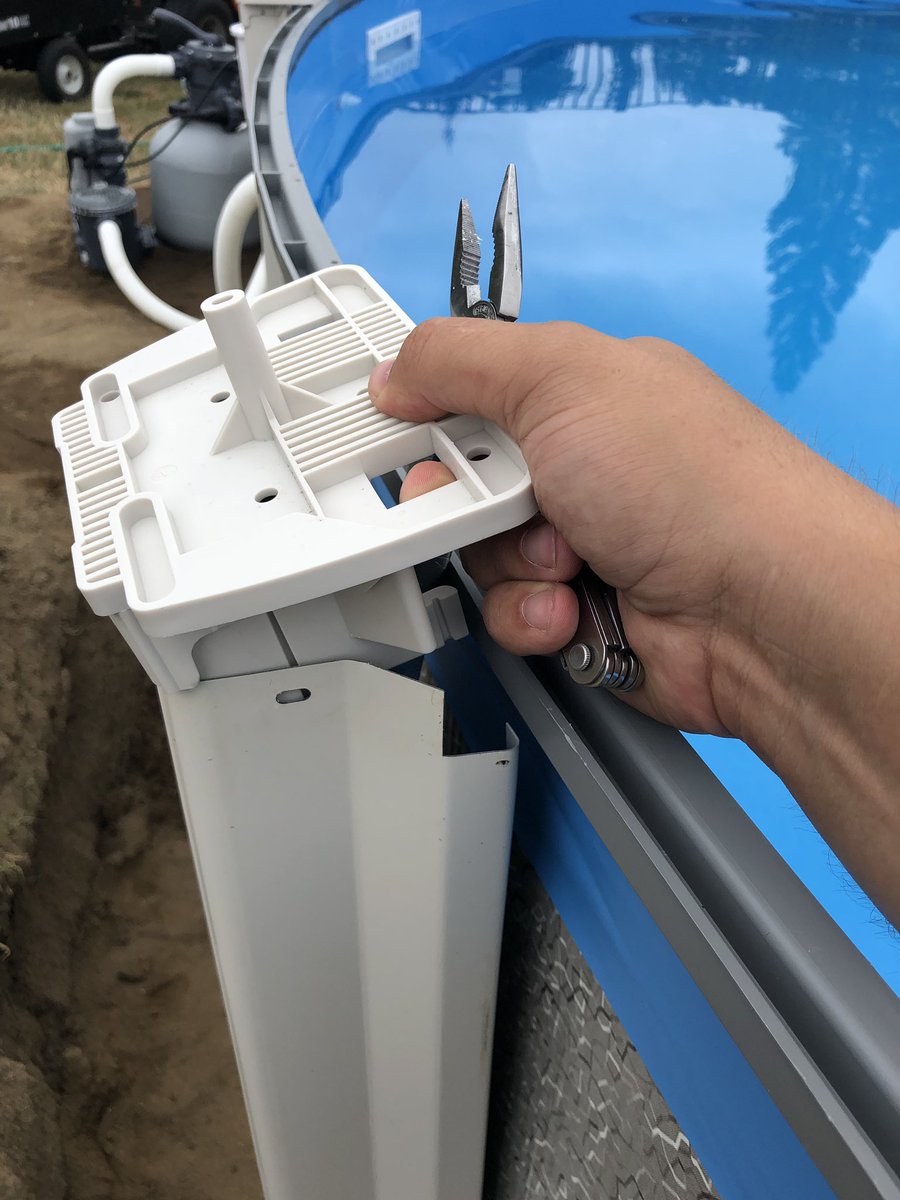
I figured out a better way and they went on easier.
Now screwing on the top plate.

I have a strong 6 year old helper.

And a strong 11 year old helper wearing an @infinite_red shirt.

Just about there for salt PPM! Also need to put the solar cover on to warm it while we are gone.

Pool solar cover on! This should raise the temp faster over the weekend while we are gone.

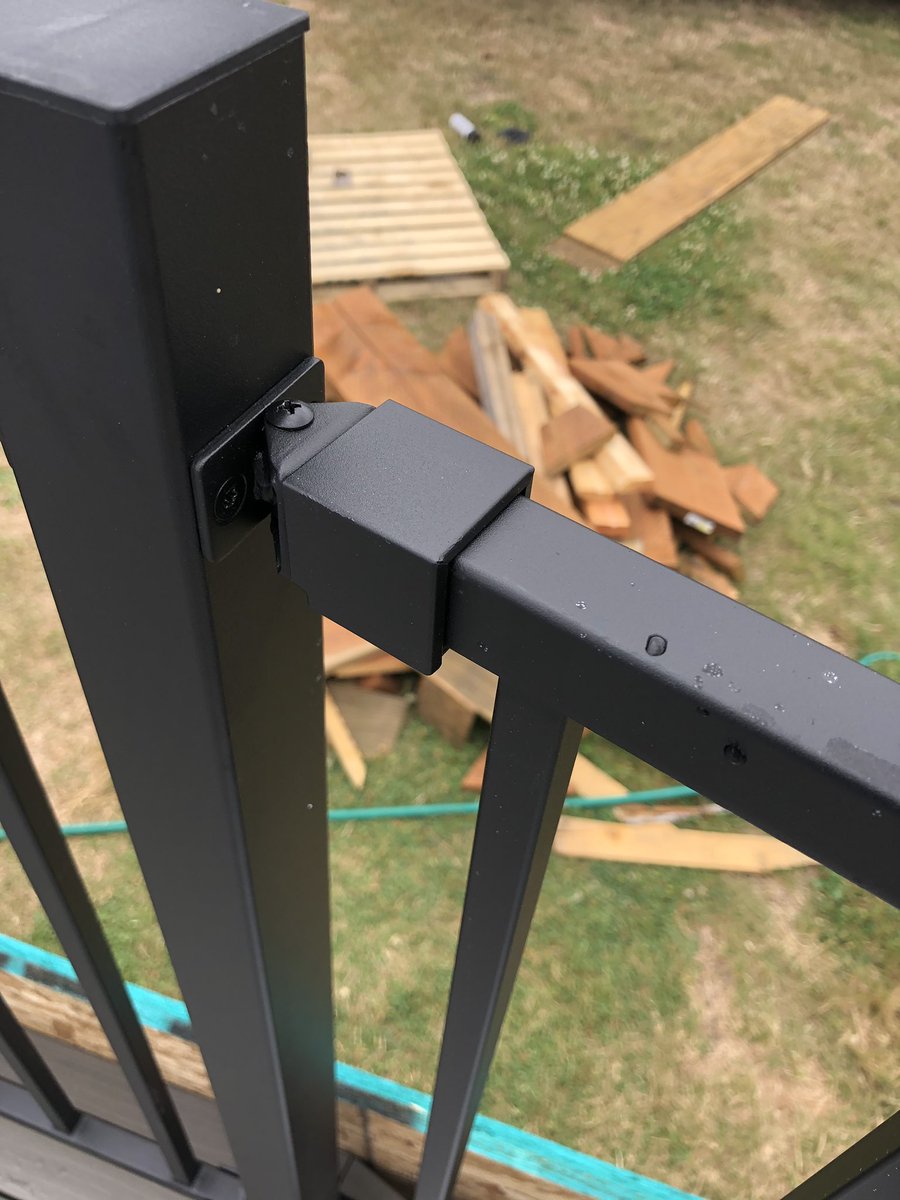
Lots of little details like these covers for the rail connectors.
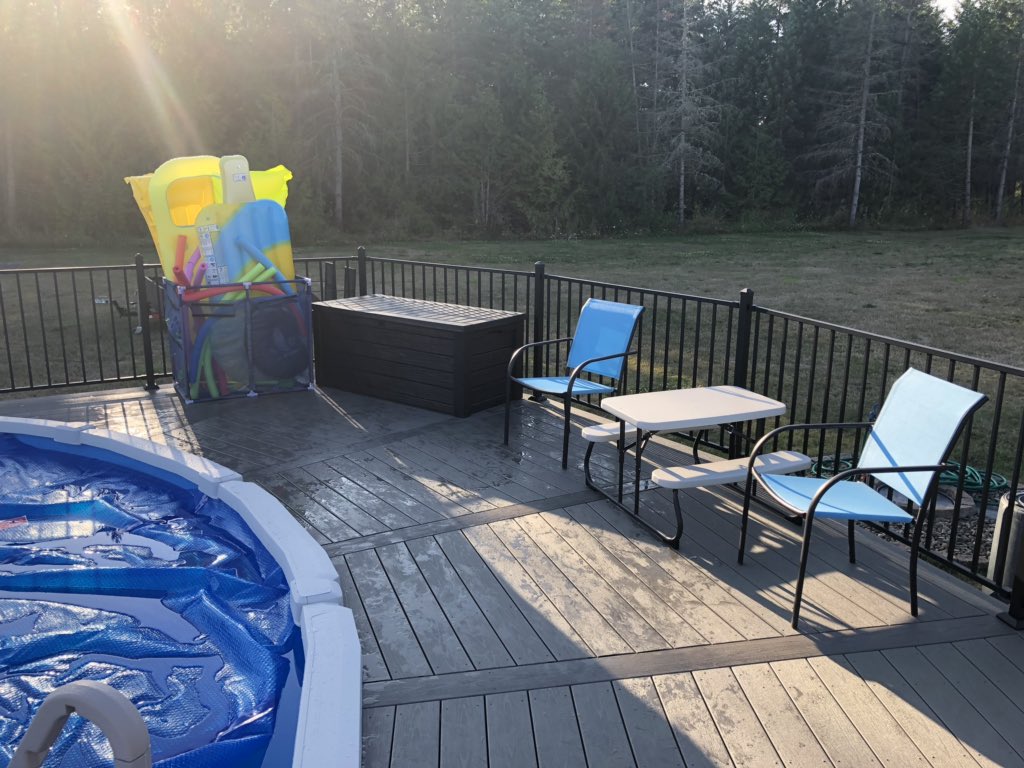
Pool deck organization is made much easier with this storage box.


My girls want to swim in it. It's about 71 degrees (75 at the surface). A bit chilly but they don't care. I'll take off the solar cover.
Going to need better storage for the cover than this.

But that water ...

"How's the water?"
"Salty."
Yuuup
(It's still too cold tbh)

Working on figuring out our organization. Day 1 was a success though!
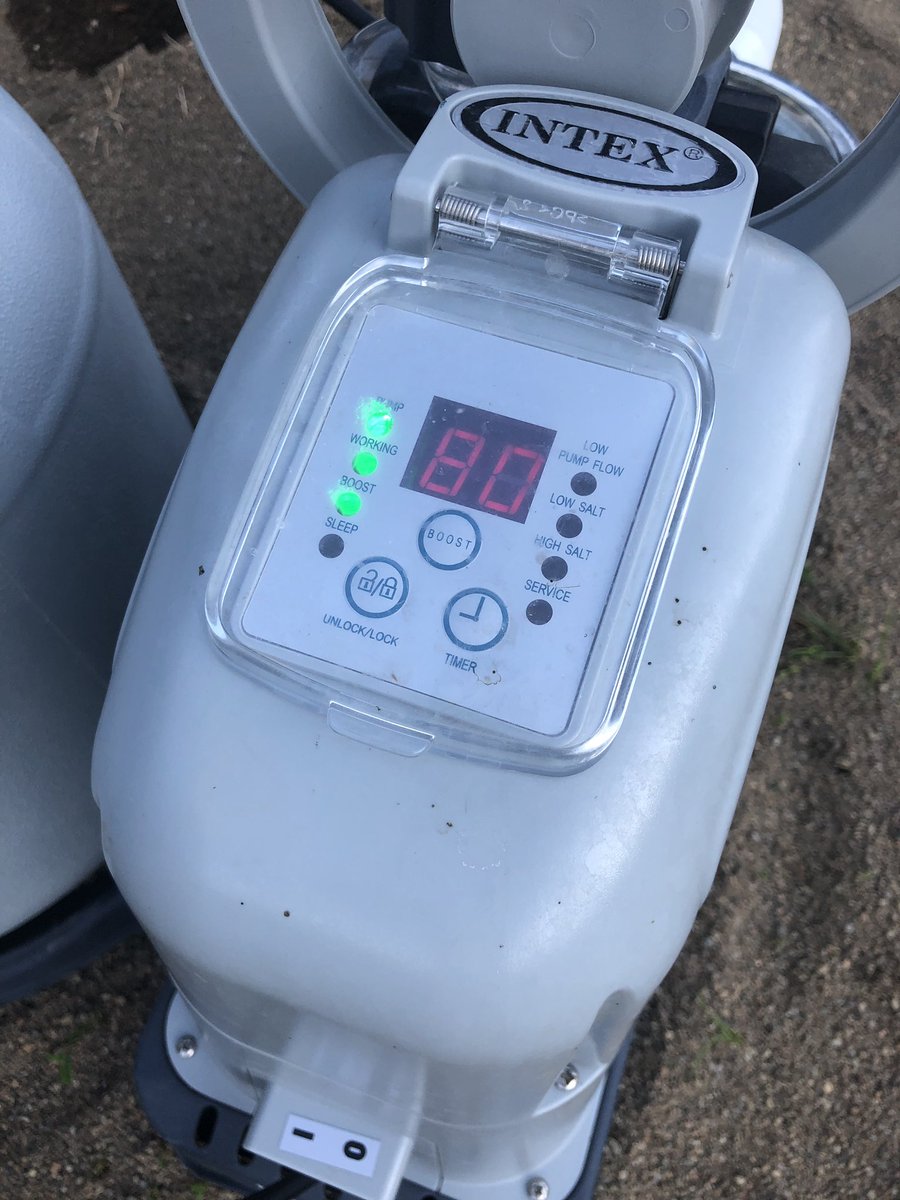
Running the "Boost" mode to blast the pool with chlorine since we just swam in it. Salt level looks perfect, although I may dump one more bag in at some point (3000-3200 PPM is optimal).
This says 73.4 degrees F, which is still chilly. The other thermometer shows 72.

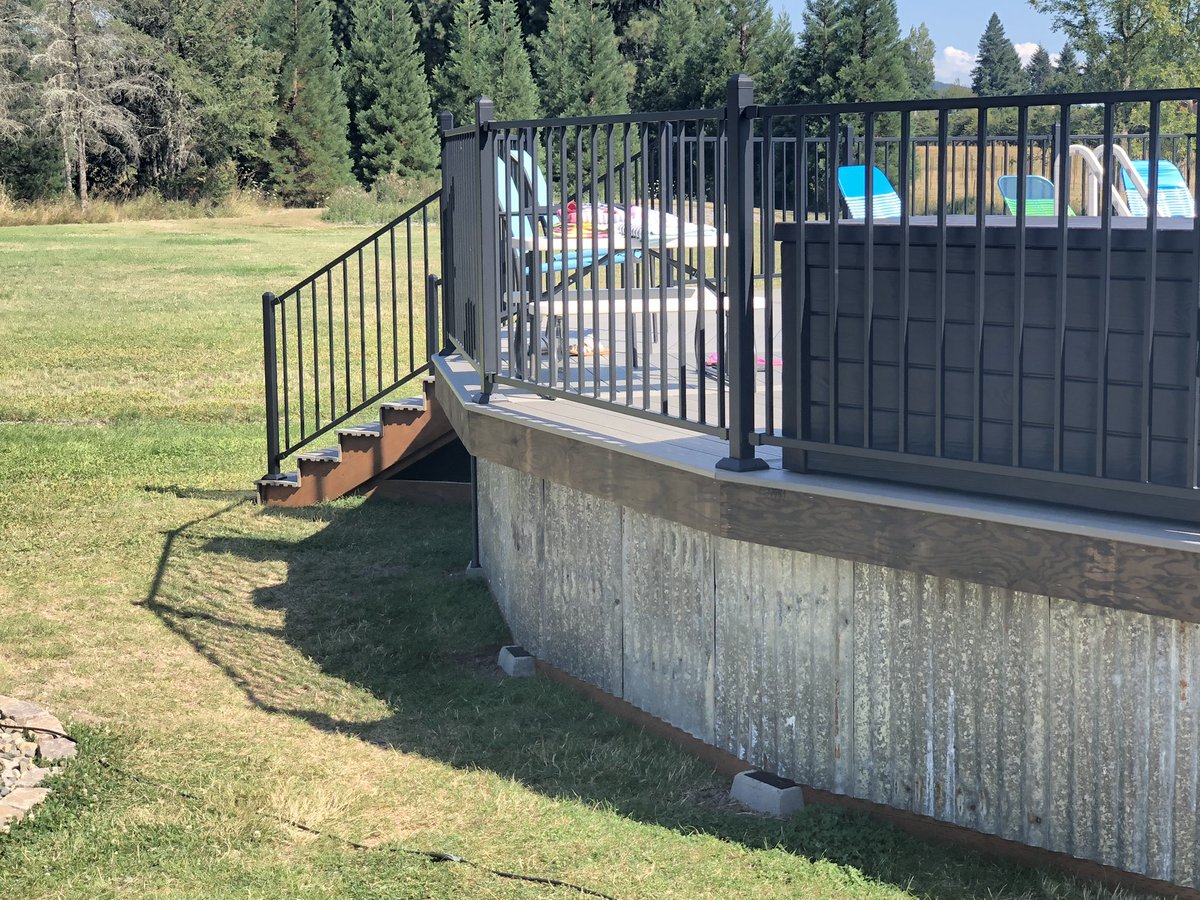
The skirting is this reclaimed sheet metal. Looks great!

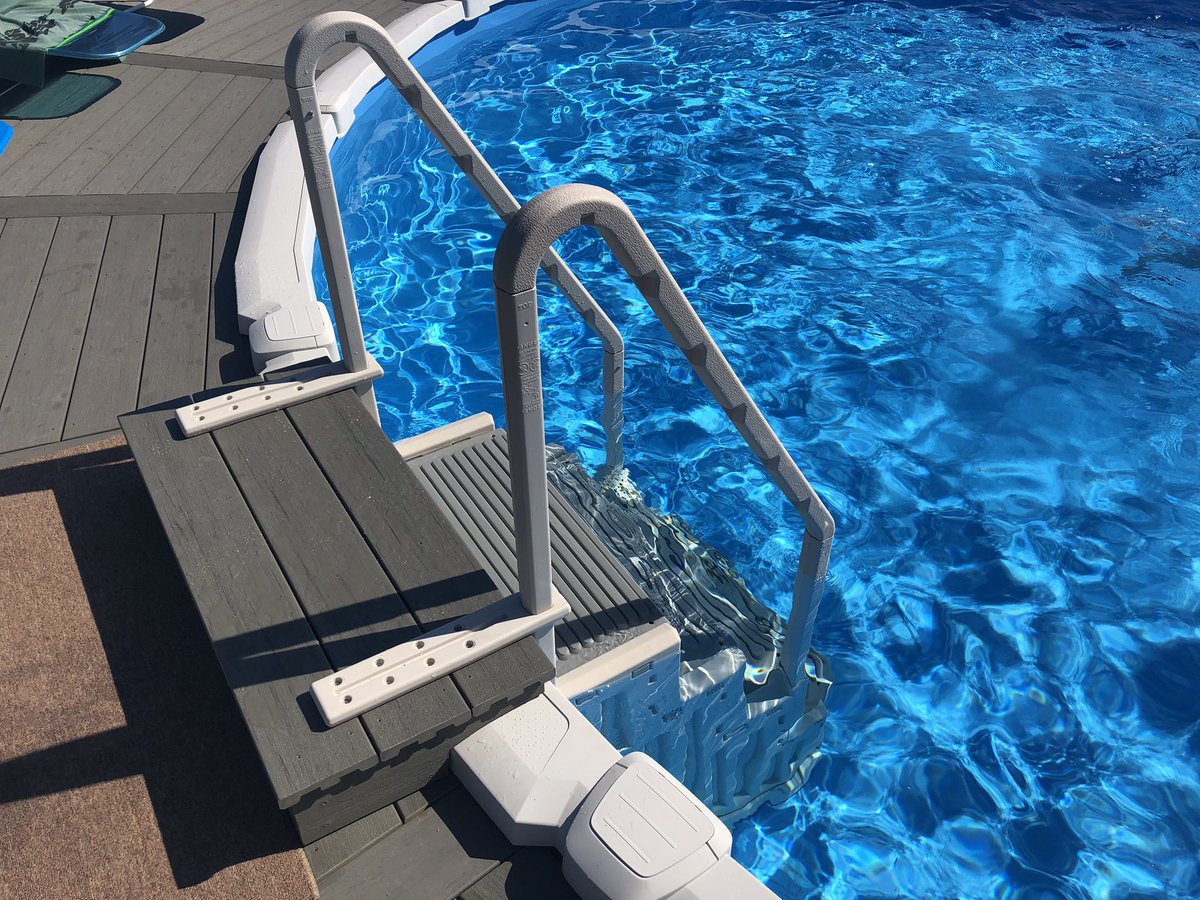
Walt also built a step and secured the stairway to it. It's pretty solid now.

Pool party happening now. The water is up to about 75 degrees. Still a bit cold but swimmable.
(Skirting is only about half done.)
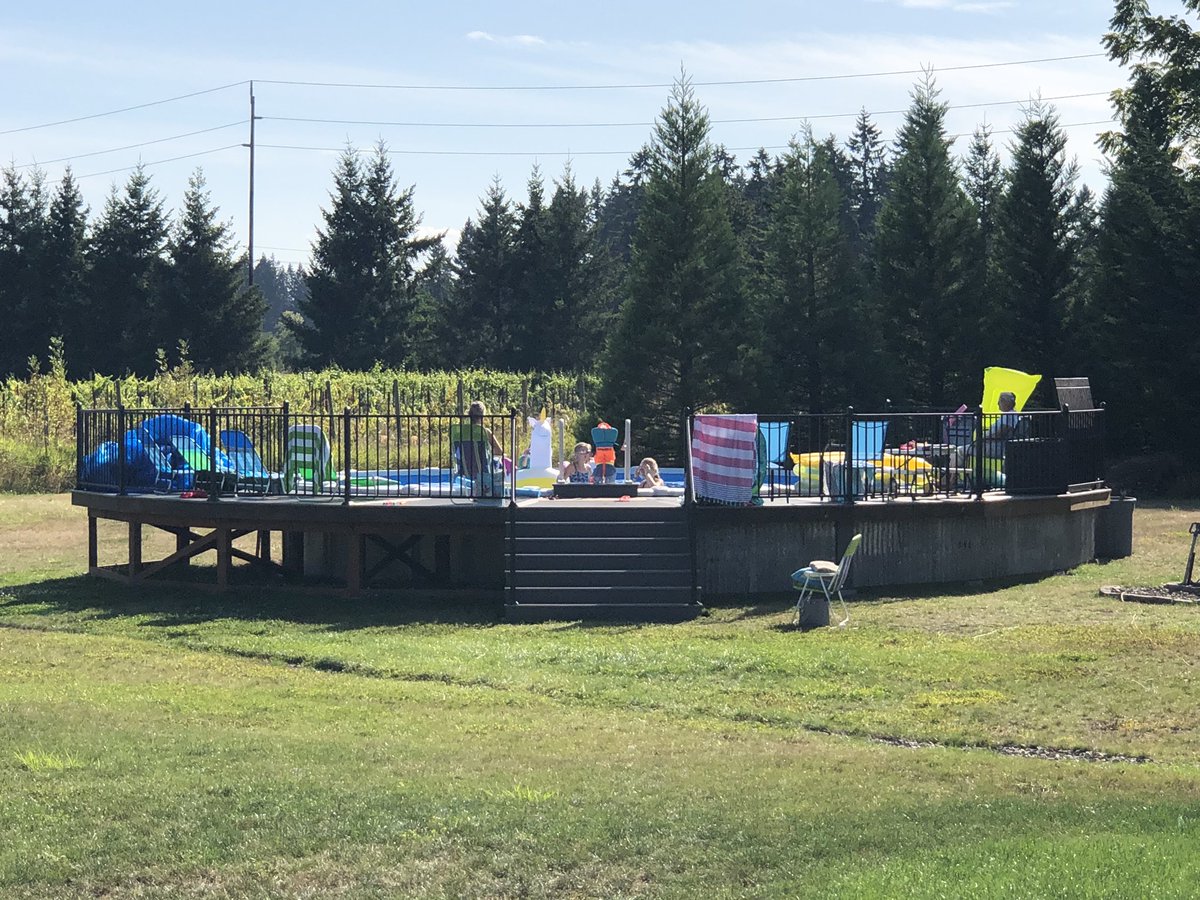
Gate is on, skirting mostly done. It's about 76 degrees so it's way easier to swim in now.


Everything is done and I get a rare moment with the pool to myself. 💜

That's it for now! I'll add more to the Twitter thread, but probably won't bring it back to this page. I hope you enjoyed this and please let me know via email (hello at jamon.dev) or on Twitter what you think!